You may need to access APMONITOR for a failed job etc. Its usually as simple as searching APMONITOR in Lawson Portal. Often times its not setup in Lawson security and needs to be added.
- In Lawson security, go to the class you want to add APMONITOR to.
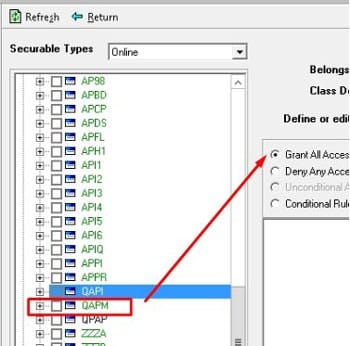
- Add a new rule and go under Online system code AP and search for token QAPM, grant all access.

- Clear server cache and log back into Lawson, search APMONITOR and your user should now be able to access it.
NOTE: As of March 2016, patch (CTP104021, JT-751224) has changed the token for APMONITOR to AP94.