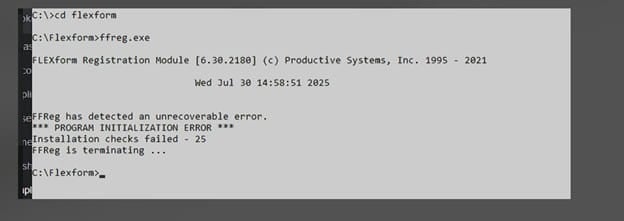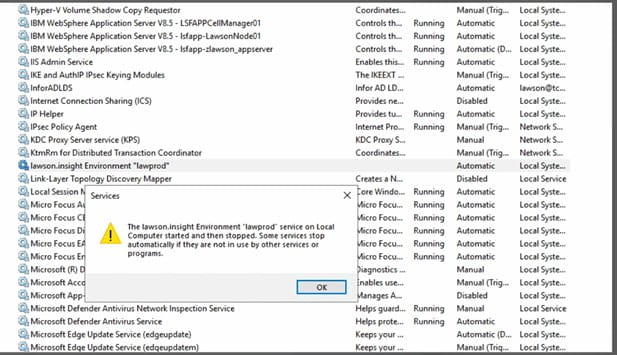
If you run into this error, it likely means that many of your batch jobs in Lawson are going into recovery. The reason this may have occurred is due to a domain name change or possibly an accidental password reset.
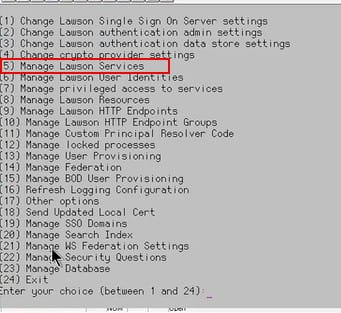
To resolve, first login into LSA, then go to Manage Privileged Identities.
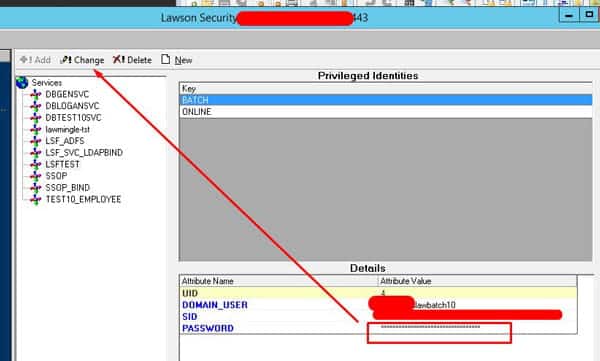
Once there, click the Environment named service ie. LSFPROD, LSFTEST or however yours is named. Select the BATCH key and find out what user is assigned under it.

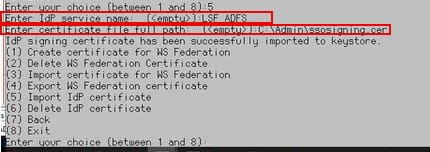
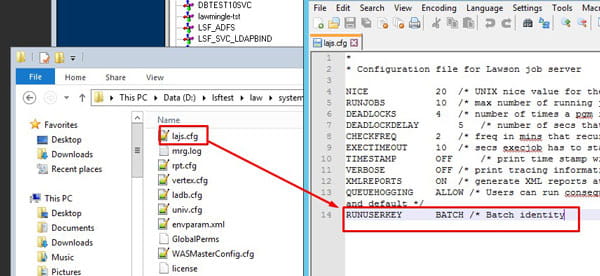
This BATCH key may be named differently so check your lajs.cfg file under RUNUSERKEY as shown below in the system folder.
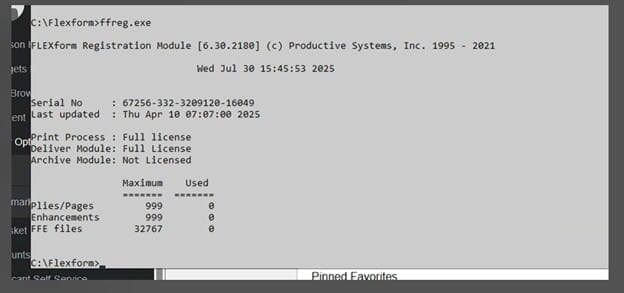
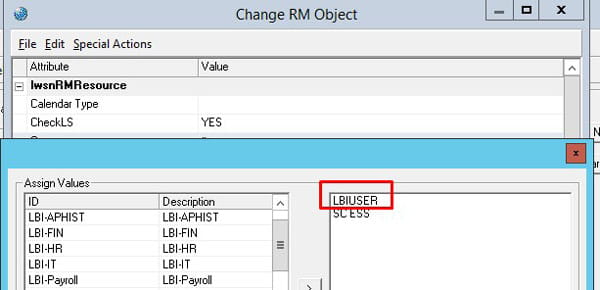
If you know the latest password login to LID with it first to confirm.
After confirming, type the password in the password field shown below and remember to click CHANGE after you confirm the password:
If you’re able to track down the right user and update the password, your jobs should recover without too much trouble. If errors like this keep popping up or if you would rather not spend time digging through configs and logs, our managed services team can step in. With a dedicated group of Lawson experts behind you, we handle issues like batch job failures, user access, and system troubleshooting so your team doesn’t have to. Our goal is to keep your Lawson environment stable and reliable while you focus on running the business.