These 5 tips could make applying patches that much less stressful and are also good practice in general.
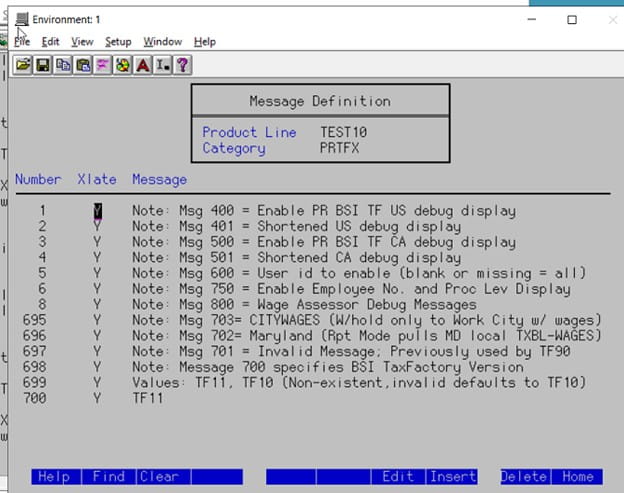
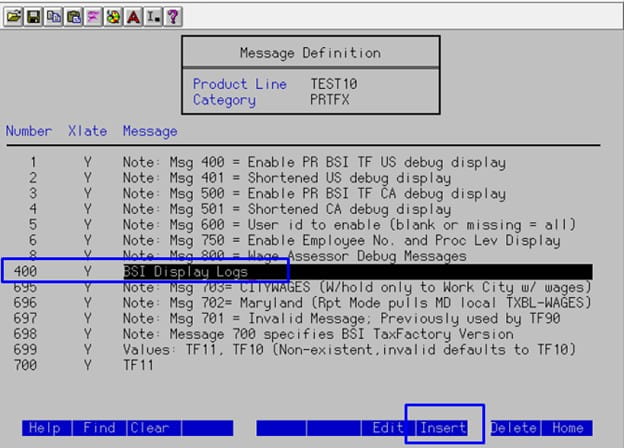
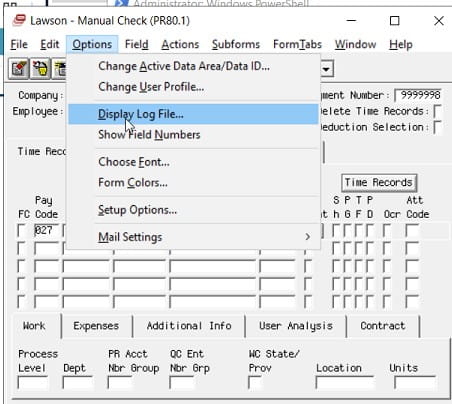
Tip 1: Check existing patch logs to see if a patch has already been applied previously and current versioning. This is good to check after a patch has been applied as well.
These logs can be found and generated here in LID:
perl %GENDIR%\bin\patches_installed_report <productline>
perl %GENDIR%\bin\source_versions_report <productline>
Tip 2: Restart the LSF server (or services) to ensure no processes are being held up and when it boots up, turn off Websphere LSF Appserver service before applying a patch to ensure users cannot log on, especially if patch needs to be applied during or close to work hours.
Tip 3: Run dbdef command to make sure there is a connection to the database before patching
Tip 4: When activating or staging multiple patches, run this command to speed up the post compile process:
qcontrol -jlocal,4 – This will set the servers cores to 4 when processing form compiles. Set it back to 2 when done. You can also check the status of the compiled jobs with command: qstatus | head -5
Tip 5: If a Plus dictionary is created after patching, its typically good practice to compile the entire product line with the command: cobcmp (be aware this can take up to 20-30 minutes to complete, tip 4 helps with this). This ensures that all programs are functioning correctly before passed to testers.
Bonus Tip: Verify security is on before sent to the testers! Hope these were helpful.
If you found this article helpful, Nogalis provides managed services and expert technical resources to assist with Lawson patching and system maintenance. If applying patches feels overwhelming or time-consuming, our team can simplify the process by managing everything from version checks to database connectivity and post-compile optimizations. Let us help ensure your patches are applied efficiently and your system is running smoothly. Contact us to learn more about how we can support your Lawson environment.