- Performance degradation? Forms slow to load?
Try following these steps:
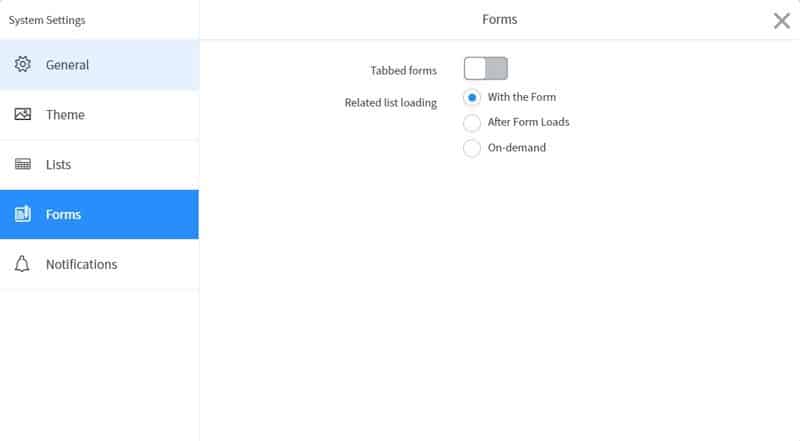
• Click the Settings Gear Icon on the top right of your ServiceNow screen, next to your name. Then, navigate to the Forms tab.

• Changing the Related list loading from “With the Form” to “After Form Loads” for a slight improvement in performance. Changing to “On-Demand” can result in significant performance gains as this would change it so that records get loaded only upon click. - Change the form view to a cleaner tabbed format versus the normal lengthy vertical layout.
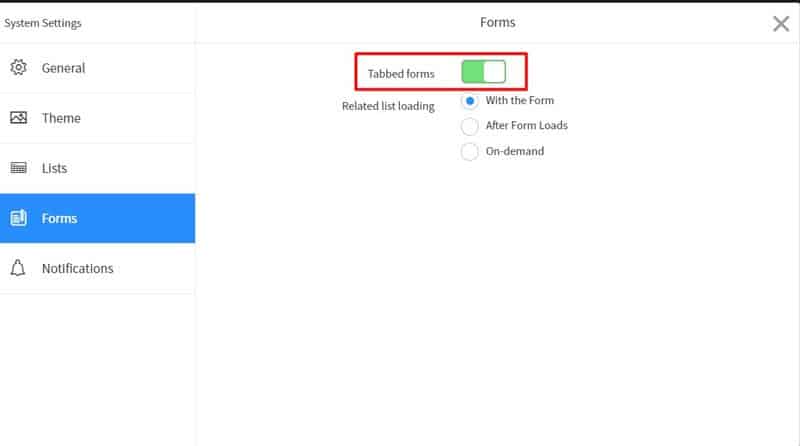
From the same Forms tab in System Settings (refer to tip #1), we can turn on Tabbed forms to change to this view.
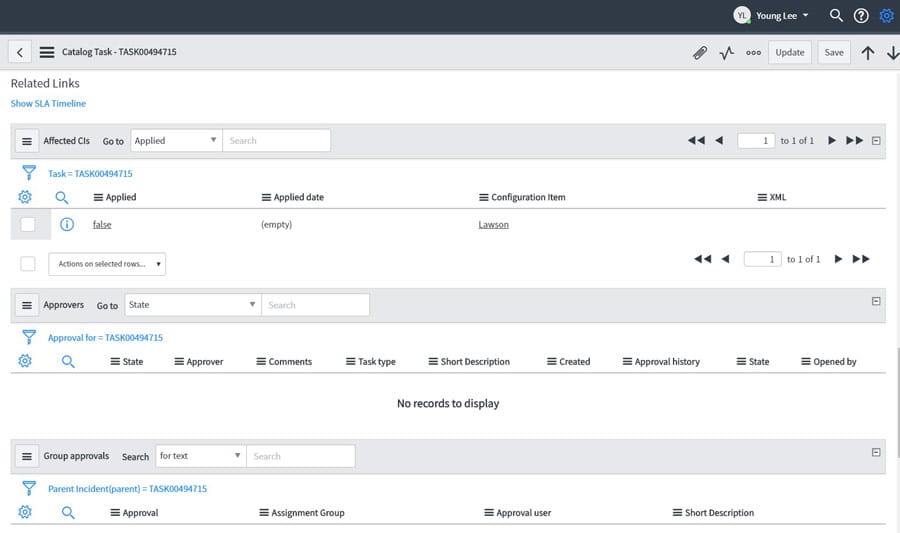
BEFORE:

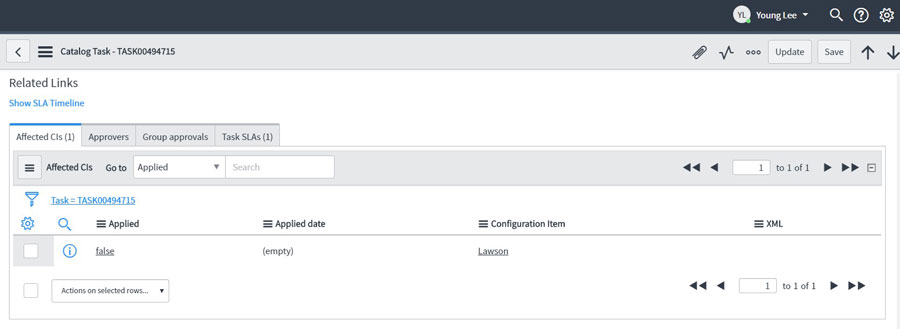
AFTER:
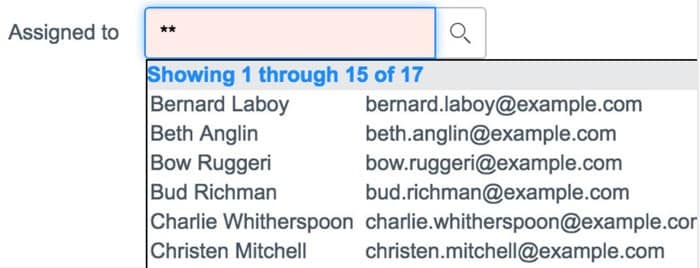
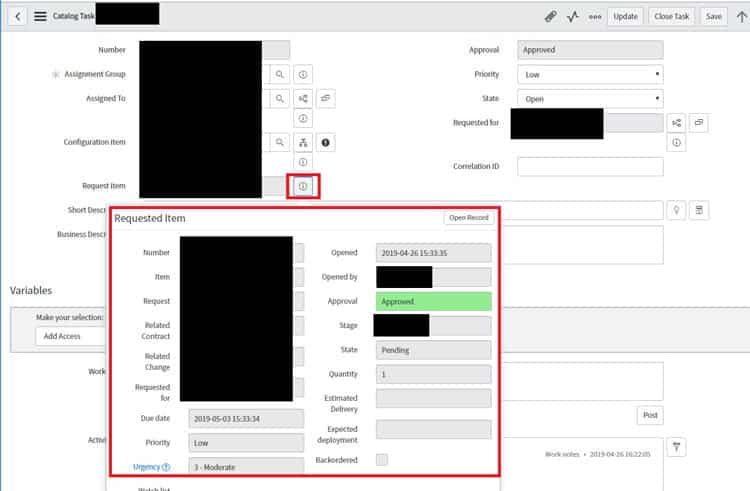
- Using asterisks (*) and double asterisks (**) for Reference fields.
In ServiceNow, searching for a record in a reference field will automatically use a “STARTSWITH” query.This can cause some difficulties when trying to search for records.

The solution is to use an asterisk before typing in the search term. This will change the query to a “CONTAINS” search which makes searching for records a lot easier.

Also, you can also use double asterisks (**) to quickly return the first (up to) 15 records in the table.

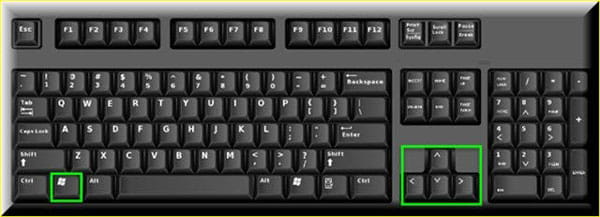
- ServiceNow Keyboard Shortcuts.

- Quickly add attachments by simply dragging file to “Work notes” area.
Attaching files by clicking the paperclip icon and then browsing for the file is a slow process. You can
simply drag and drop the file you want to attach into the Work notes box.