There are several ways to trigger an IPA process, including 4GL triggers and scheduling. One simple and low-overhead method is to use a HTTP(S) call.
HTTP(S) calls can be used to trigger a Process or a Service. To begin, you should have the process uploaded into IPA. Then you should create the Process or the Service Trigger. These can be created in Rich Client or in the IPA Admin web tool, but note that the following instructions use the verbiage & menus in Rich Client.
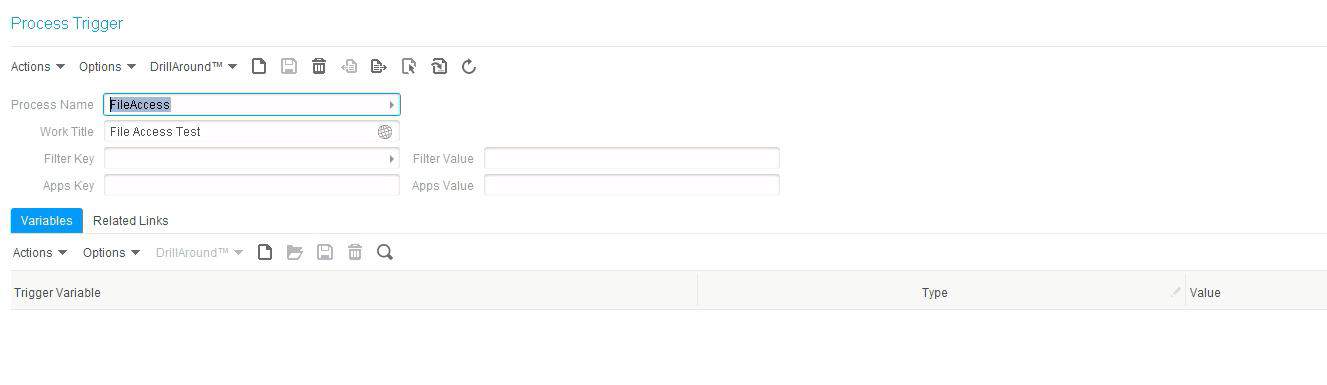
Creating a Process Trigger
- In Rich Client, go to Start > Scheduling by Process Definition
- Create New
- Select the Process under Process Name
- Give the trigger a work title
- Add variables if your process accepts them

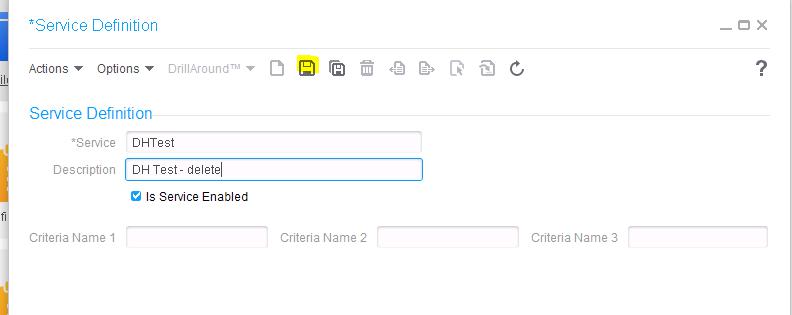
Creating a Service Trigger
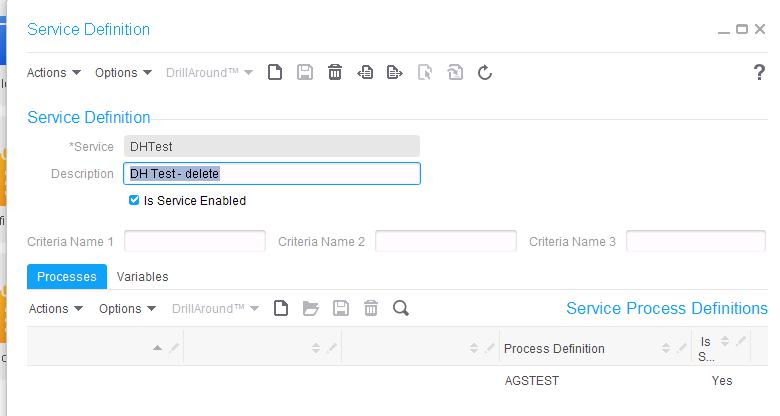
- In Rich Client, first create the Service Definition by going to Start > Configuration > Service Definitions
- Create New
- Give the service a Name and Description
- Check the “Is Service Enabled” check box
- Click the Save button

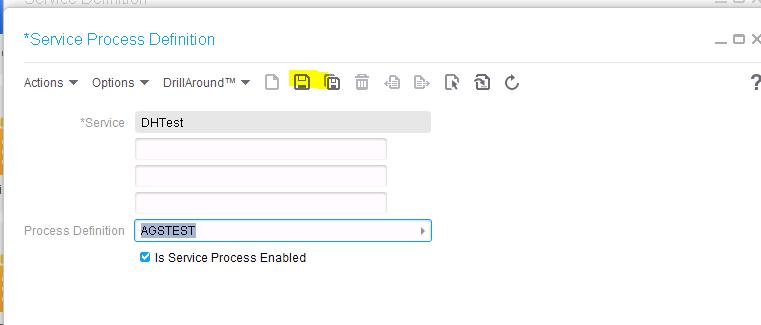
- Under the Processes tab, add the process that you will be running with this service (click the add new button)
- Select the process to add
- Make sure the “Is Service Process Enabled checkbox is checked
- Click the save button
- Add variables if your process accepts them


URL syntax for calling Process & Service Triggers
- Make sure you give your process a work title, in this case we are using Trigger Test
- These examples assume two variables: TestVar1 and TestVar2 (variables use a zero-based array)
- For a Service Call, triggerName is the service definition name
- For a Process Call, triggerName is the process trigger name
Asynchronous Service Call – https://ipahost:port/bpm/trigger?triggerType=ServiceAsync&triggerName=DHTest&dataArea=prod&workTitle=Trigger%20Test&varName\[0\]=TestVar1&varValue\[0\]=xyz&varName\[1\]=TestVar2&varValue\[1\]=123
Synchronous Service Call – https://ipahost:port/bpm/trigger?triggerType=ServiceSync&triggerName=DHTest&dataArea=prod&workTitle=Trigger%20Test&varName\[0\]=TestVar1&varValue\[0\]=xyz&varName\[1\]=TestVar2&varValue\[1\]=123
Asynchronous Process Call – https://ipahost:port/bpm/trigger?triggerType=ProcessAsync&triggerName=FileAccess&dataArea=prod&workTitle=Trigger%20Test&varName\[0\]=TestVar1&varValue\[0\]=xyz&varName\[1\]=TestVar2&varValue\[1\]=123
Synchronous Process Call – https://ipahost:port/bpm/trigger?triggerType=ProcessSync&triggerName=FileAccess&dataArea=prod&workTitle=Trigger%20Test&varName\[0\]=TestVar1&varValue\[0\]=xyz&varName\[1\]=TestVar2&varValue\[1\]=123