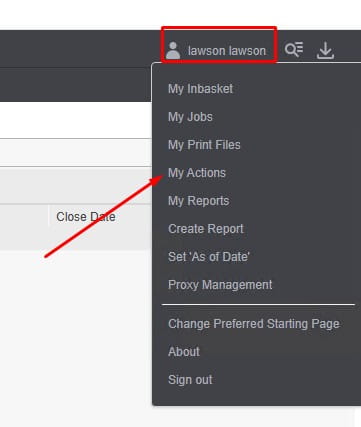
If you want to know how to bookmark a custom cobol ‘Vanilla’ Form, follow these simple instructions below:
This is how the custom cobol “vanilla” form in RD69 shows under ID it’s called XX3.1_TEST
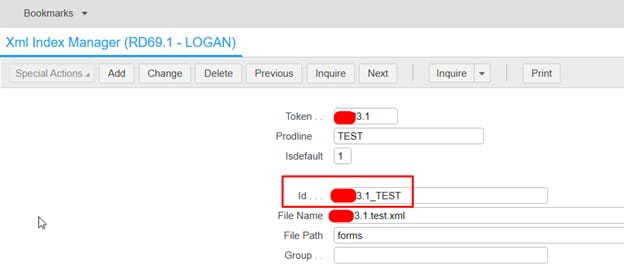
So you may think you need to add it in as XX3.1_TEST when adding as a favorite or creating a bookmark.
An example:
LAWFORM|PDL=PROD10|TKN=XX3.1|ID=XX3.1_TEST
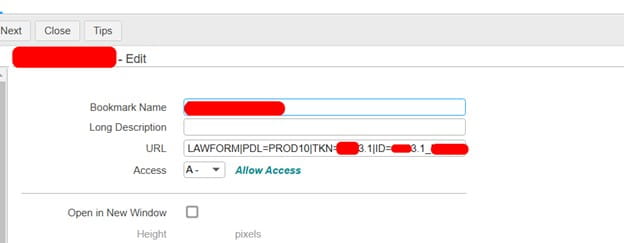
Instead, since it is the custom “vanilla” cobol program, you only need to mention the TKN, not the ID
LAWFORM|PDL=PROD10|TKN=XX3.1
That’s all there is to it! Just clear the IOS cache and browser cache, then you should be able to load the bookmark now.