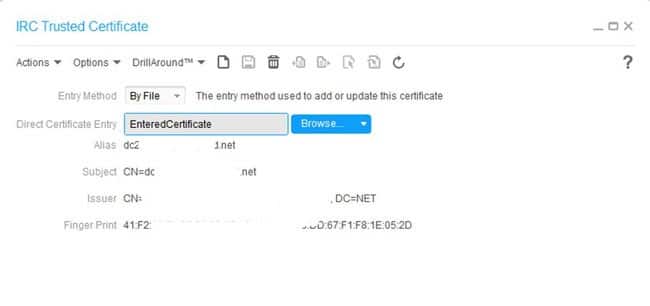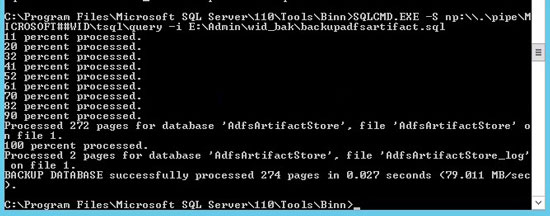
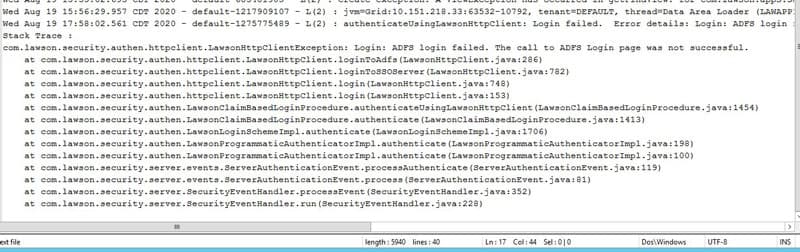
If you are logging into Rich Client and getting a “login failed error”, check the security_authen.log file located on the Landmark server at LASYSDIR/security_authen.log. If this file contains the error “ADFS login failed. The call to ADFS Login page was not successful”, you can configure your Rich Client installation to use an ADFS login.
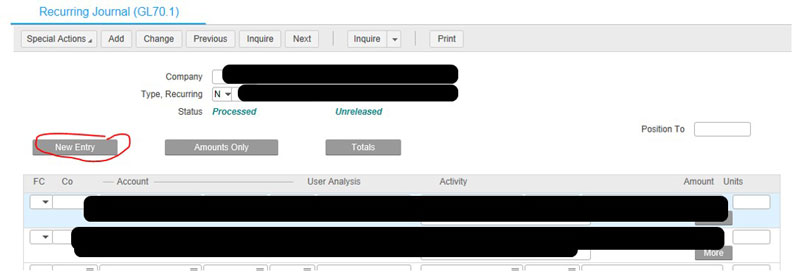
These steps can be performed in the LPA Web App, or you can get to Rich Client using the command line utility. To do this, log into the Landmark server as the Lawson user. Open a Landmark command window, and type the command “canvas64 gen”. This task is performed in the GEN data area.
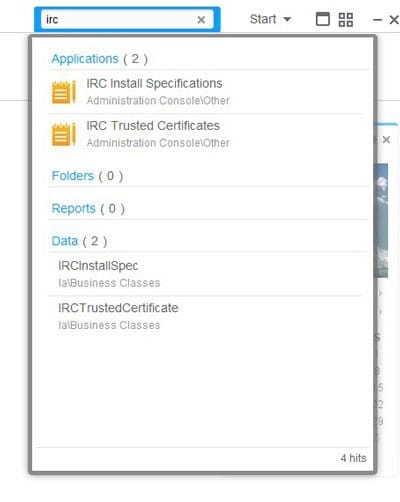
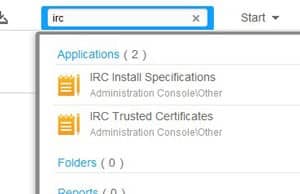
In the search window, type “IRC” and select “IRC Install Specifications.”
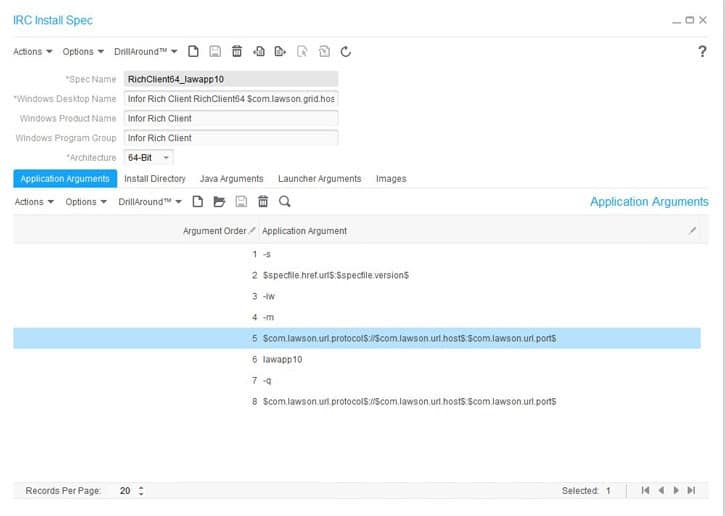
The default specifications for Rich Client 64 should look something like this:
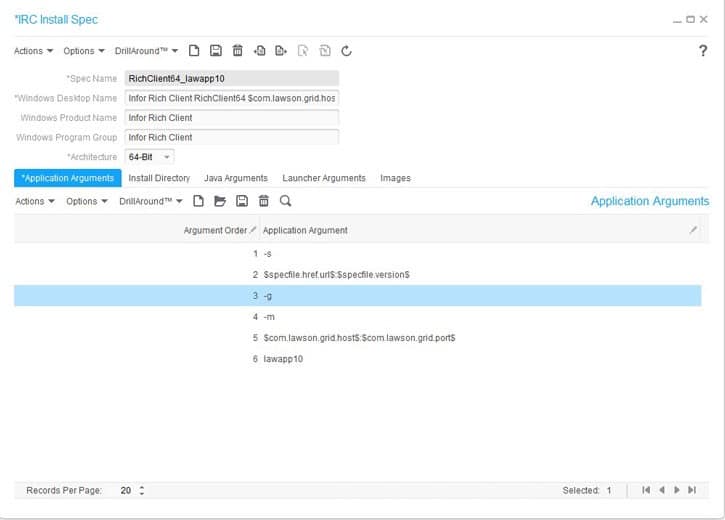
Modify the specifications to:
- -s
- $specfile.href.url$:$specfile.version$
- -iw
- -m
- $com.lawson.url.protocol$://$com.lawson.url.host$:$com.lawson.url.port$
- <your data area>
- -q
- $com.lawson.url.protocol$://$com.lawson.url.host$:$com.lawson.url.port$

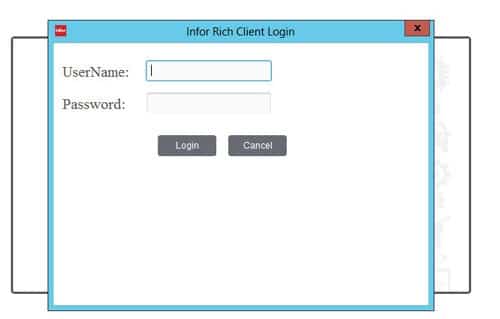
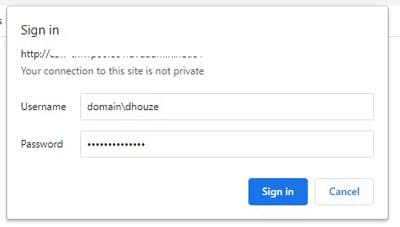
Download Rich Client again, and you will be presented with a new style of login page: