ARTICLE:
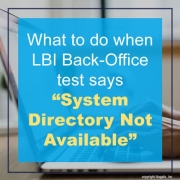
When testing the FTP connection on a Lawson Back-office data source in LBI, you may receive the error message “System Directory Not Available”. You may also see this message in the SystemOut.log on the LBI server when the system is testing the connection.

Here are some troubleshooting steps when you encounter this issue:
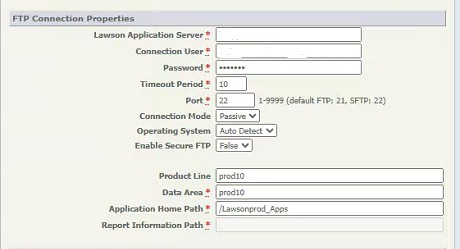
- Open a Windows command prompt on LBI server
- ftp <lawson application hostname>
- log in as <ftp user>
- cd <application home path>
- ls (You should see the ‘system’ directory listed here. If not, that is the source of the “system directory not available” error). If you see the system directory, continue:
- cd /system/ers/backoffice/<pdl>
- get published.csv
- del published.csv
- put published.csv
- cd <application home path>/print/username/jobname/1 (use a username and job name for a published report, or any job if you have nothing published yet.)
- get <JOBNAME>.prt
- del <JOBNAME>.prt
- put <JOBNAME>.prt
NOTE you can also use an ftp client such as Filezilla to check for the file
Once you have ensured access to all of the above directories over ftp, you should find the following message when you test the FTP connection.