When you are doing an MSCM install or update, and you “fat finger” one of the values in the wizard, it can be a real headache. In this example below, the installer defined the wrong port for the WAS connection information. The install wizard threw a java exception during the install. The install.log file indicated an issue connecting to WAS, which led to the wsadmin.traceout file, which showed the culprit as the invalid port.
To rectify this issue, you may need to update the value in two places. The first place you will definitely need to fix the value is in the install.cfg file. This is located at C:/lawson/mscm/<instance name>. The only thing you aren’t going to be able to change here is encrypted passwords. If you have mistyped a password, you will need to uninstall or revert to a backup.
The other place you may need to update the value is in the MSCM properties files. Check for the value in mscm.filter.properties, mscm.ios.peroperties, or mscm.lhc.properties and fix it there.
Now, restart your install and you should be golden!
Calling an API from IPA
APIs provide a secure way for unrelated applications to communicate with each other. Infor Process Automation offers tools that allow you to utilize third-party APIs to integrate applications with Lawson. IPA processes can gather data out of third-party systems via API for import into Lawson, or they can generate data out of Lawson and format it for an API request. These integrations can be real-time or near real-time, depending on the capability of the API.
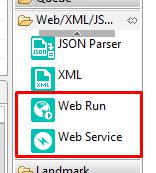
Generally speaking, APIs will be called using a Web Service Node or a Web Run Node. These nodes can be found in the Web/XML/JSON category in IP Designer.
Web Service Node
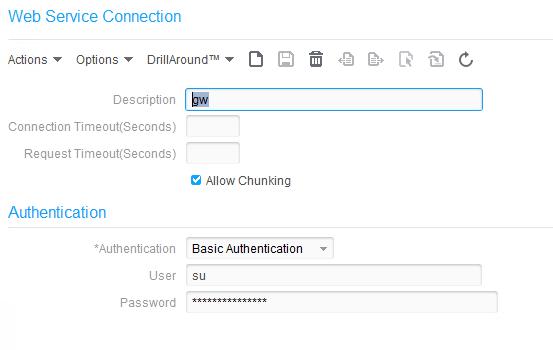
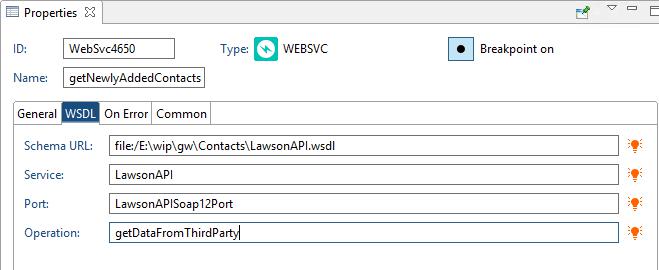
The Web Service Node is used for SOAP API calls. The authentication information can be stored in a configuration set under the Web Service tab. It is recommended that you create a new configuration set for each interface, and there can only be one Web Service configuration per set. The authentication options are Basic or WS Security. Both accept a username and password.
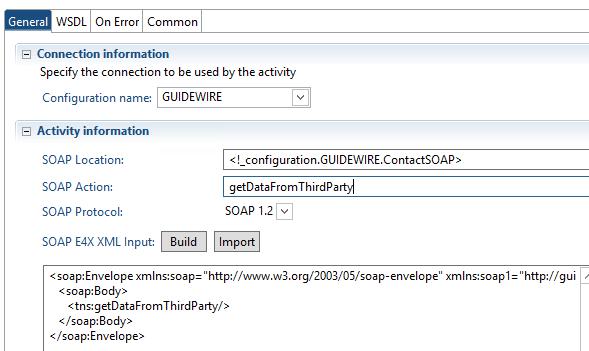
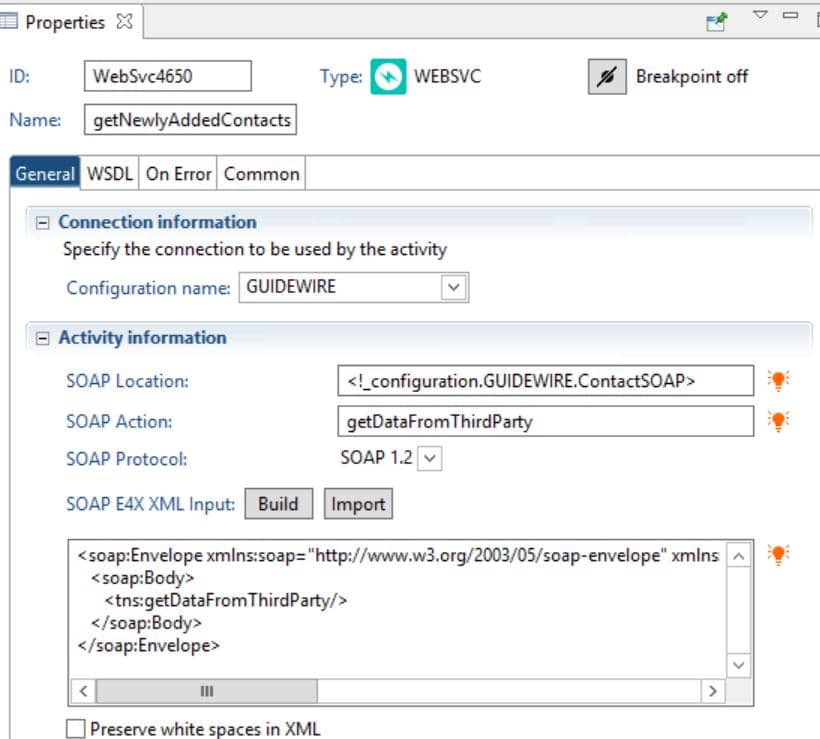
When setting up a Web Service node in IP Designer, select the configuration set that contains the authentication data. Populate the WSDL tab with a schema file or URL. That way, you can use the “Build” button to generate the SOAP call. You can also type the SOAP call directly into the Activity window.
Web Run Node
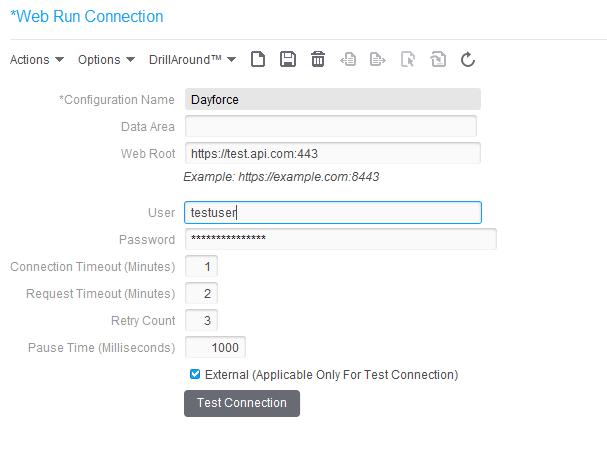
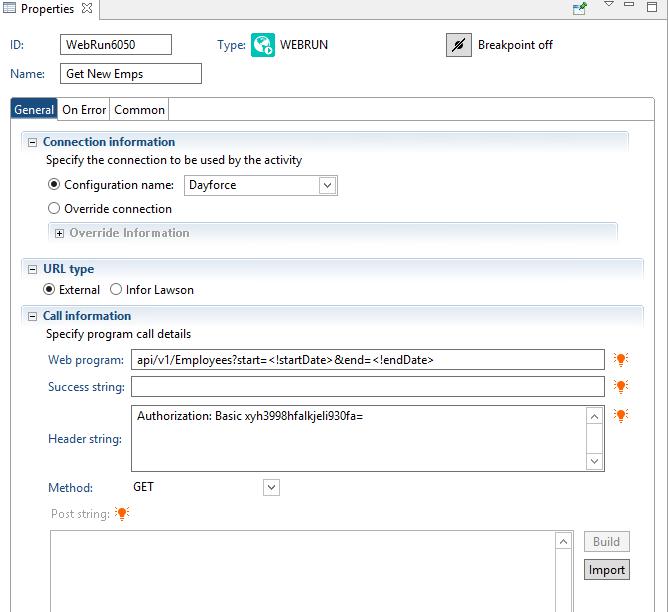
The Web Run node is best for APIs that use advanced security, or that don’t require XML input (i.e. the call can be made via query string). Web Run offers authentication types of OAuth 1.0a or Basic. The connection information can be set up in a configuration set, and you also have the option to override the connection in the properties of the node. As mentioned above, it is always recommended that you have at least one configuration set per interface, and bear in mind that there can be only one Web Run configuration per set.
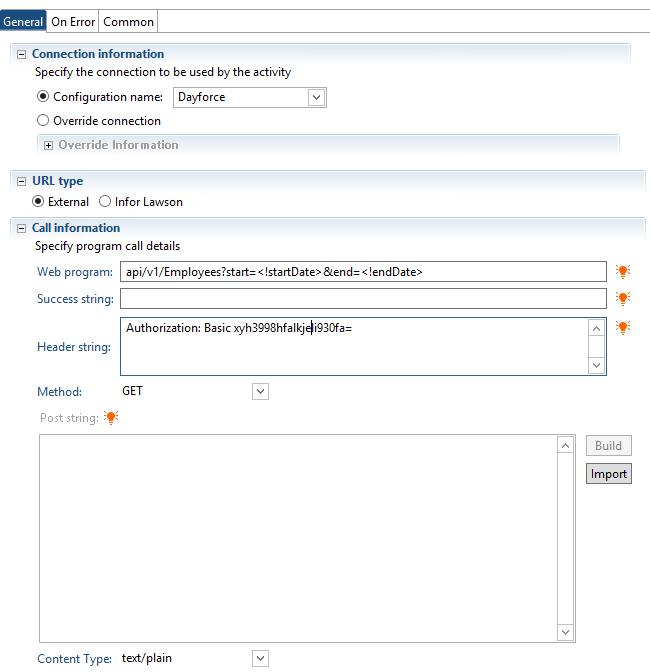
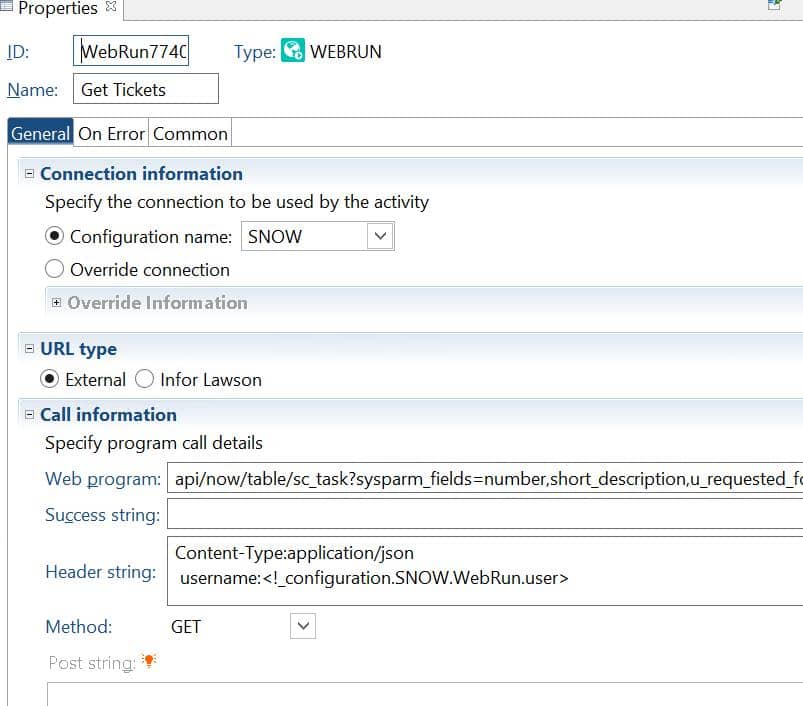
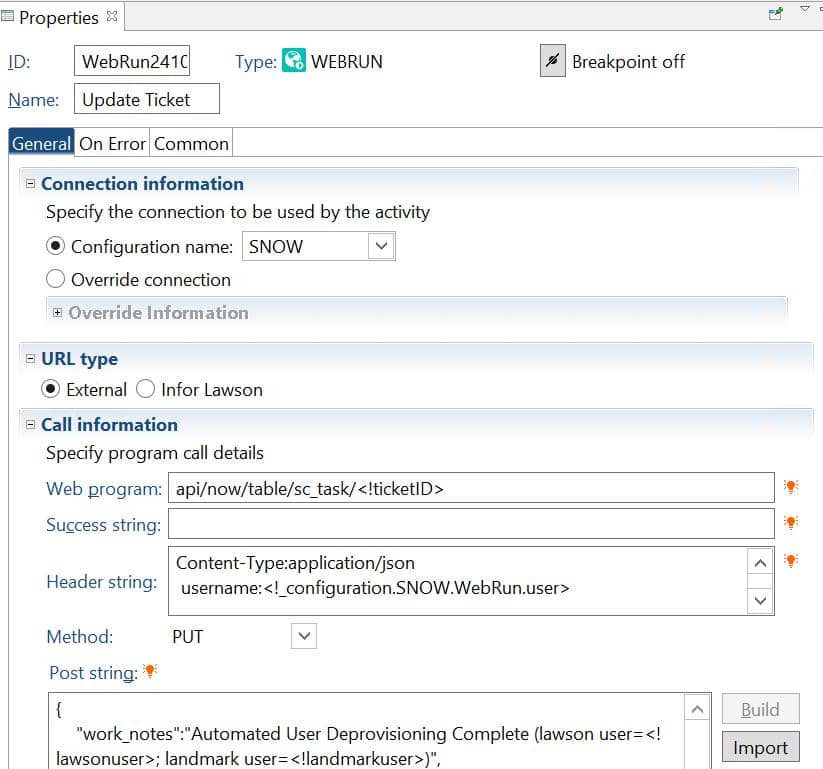
In IP Designer, the Web Program property would be whatever comes after the Web Run URL that you configured in the configuration set, or in the override. You can also pass header strings and POST strings when needed. The third-party vendor should be able to provide you with templates for making calls. It is best to test these calls using a third-party tool such as Postman before attempting them in IPA.
Reading Responses
Most APIs will send back a response in either JSON or XML. There are a few methods for reading these responses so that the data can be used later in your flow.
JSON Parser
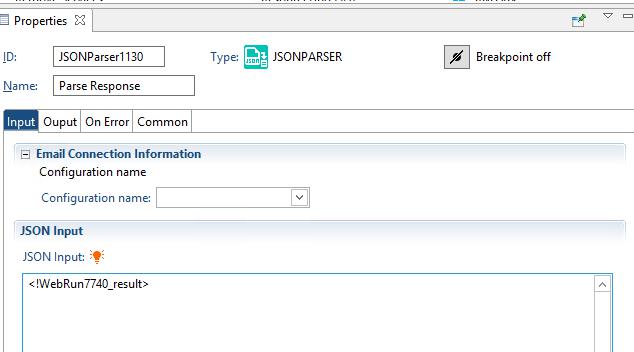
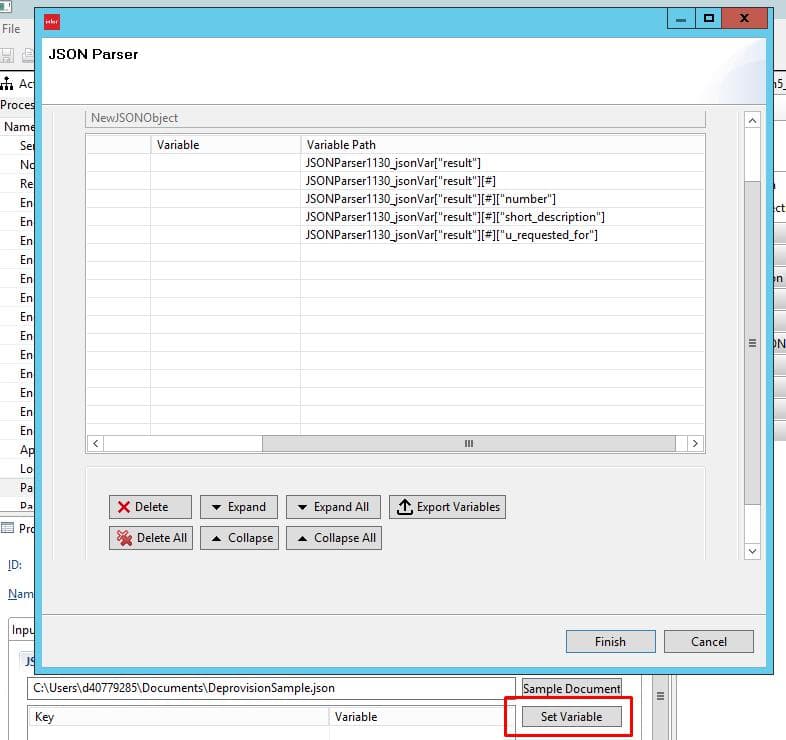
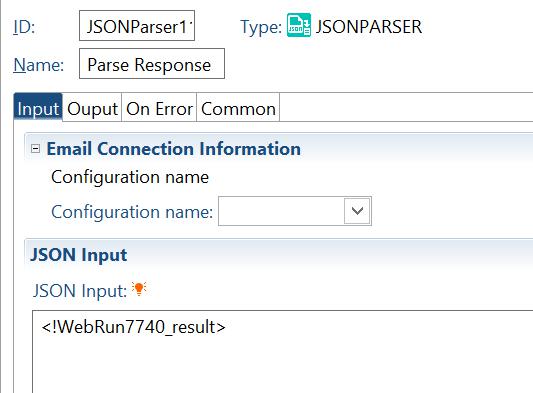
If the response is in JSON, use a JSON Parser node to parse the output. In IP Designer, if you go to the Output tab on the JSON parser and upload a sample document, the “Set Variable” button will show the available variables in the response.
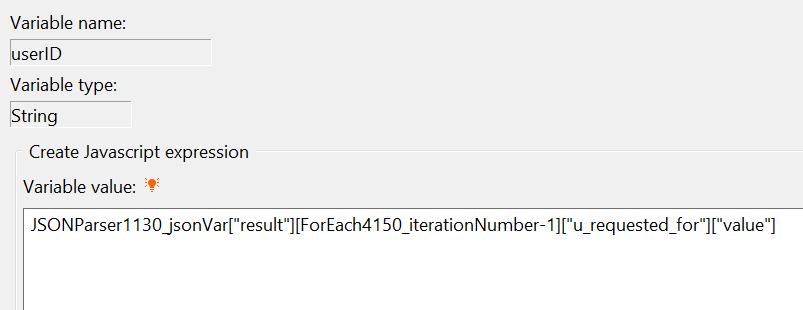
Then, each element can be accessed from in the JSONParser_jsonvar. Each element is represented by name using the syntax [“name”]. If an element can have multiple instances, each instance should be referenced by an index (0-based). For instance, this assignment accesses the first result in the list, element “u_requested_for”, and element “value” of the u_requested_for block:
JSONParser1130_jsonVar[“result”][0][“u_requested_for”][“value”]
XML Node
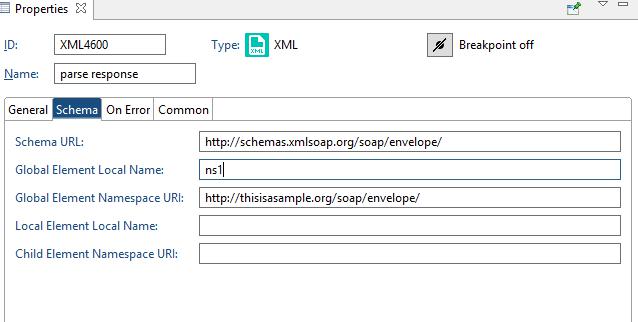
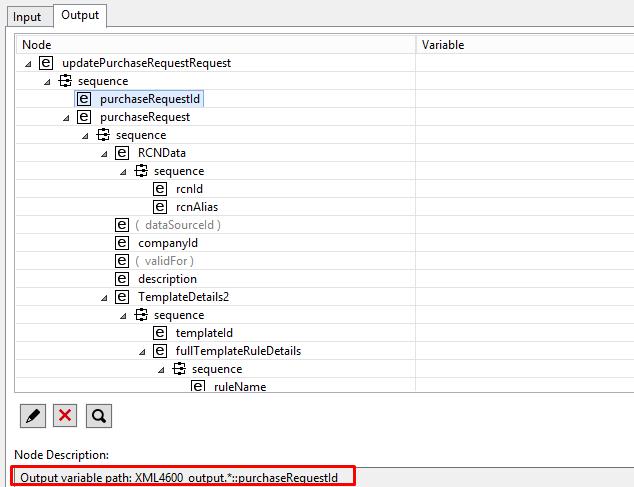
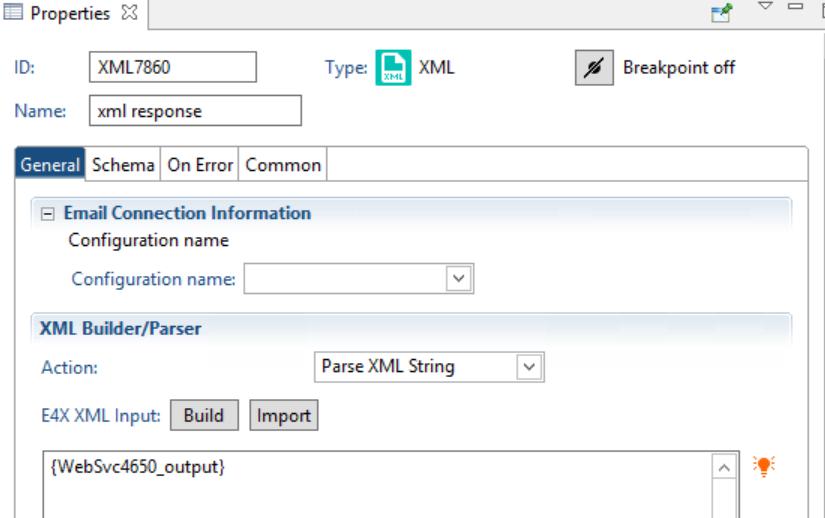
If the response is in XML format, it can be accessed similarly to JSON, by calling each element by name. In the case of XML, it is important to include the Schema information to assist with calling each element. Once the Schema is populated (either by URL or by a xsd file), you can click the “Build” button to display each element and a sample of how it should be accessed. If you prefer working with JSON, another option for working with XML nodes is to use a JSON Converter to convert the XML to JSON. Then you can work with the output from the converter node.
Triggering
Interfaces that send data out of Lawson to a 3rd party can be run real-time. There are multiple ways to trigger a process based on some activity in Lawson (see here and here for some examples). It would be tricker to send data from a third-part TO Lawson in real-time. Typically, it’s best to do batch processing, where you reach out to the 3rd party system at some defined interval and gather whatever records are available. If real-time processing is an absolute necessity, you will need to get a little creative since Landmark and Lawson don’t have their own APIs. Some ideas would be to have the third-party app drop a trigger file to be picked up by a file channel, or to have the third-party app trigger a work unit using BPM. In all cases, there will have to be some custom programming involved.
Use Cases
User Deprovisioning
We had a request to query the Service Now API for users that needed to be deprovisioned. The flow then removed roles and disabled the user accounts, as well as removing any tasks they had in IPA. Then, it would update the original ticket with a status. This type of interface has many, many applications. If your help desk ticketing system has an API, you can automate tickets for interface failures, user provisioning and deprovisioning, and much more. It is important to note that most ticketing systems are highly configurable, so there should be a lot of planning up front to make sure the interfaces are efficient and leave little room for “accidents”.
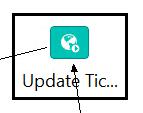
The key nodes for these flows are a Web Run node that makes the GET API call with a query string; a JSON parser node that accepts the response from the API call; assignment nodes to access the data in the JSON parser; and another Web Run node that updates the ticket with a POST API call.
Automating AP Tasks
We have written many flows that reach out to various third-party vendors, such as Guidewire or Expense Wire, over API. These interfaces do everything from adding/updating vendors to creating check requests. Whenever possible, we will gather the data from the API call and put it into a flat file format that can be brought in by a conversion job (such as AP510 or AP520). This assists with error handling, and helps to mitigate points of failure. It’s also more efficient than adding data one-by-one. If a conversion program isn’t an option, it is also possible to use Lawson Transaction nodes to add data to Lawson. We also have interfaces that send data back to the originating application to keep the systems in sync.
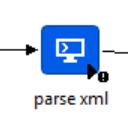
The key nodes for these flows are a Web Service node that makes the SOAP API call with an XML request; an XML node that accepts the response from the API call; a file access node that creates a perl script to read the XML response and generate a flat file for a Lawson conversion job; and a system command node that calls the perl script.
HR Automation
APIs have quite a few applications when it comes to HR Automation. They can be used to get time records from an external system, or benefits data, or they can be used to export such data. This particular use case was for importing employees from an HR system into Lawson as vendors in AP10 so that they can be part of an expense reimbursement program.
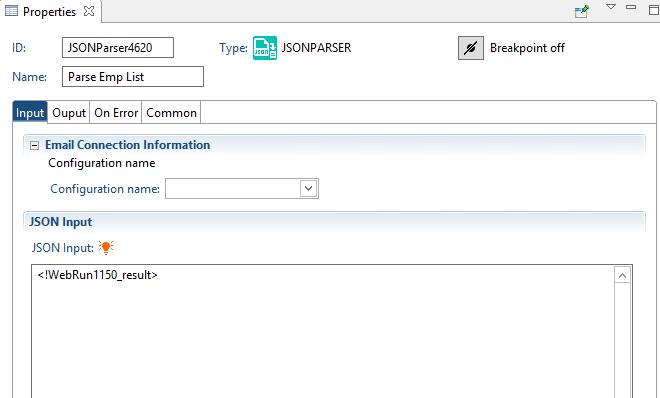
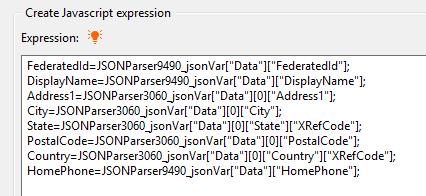
The key nodes in this interface are a Web Run node to get the list of new employees; a JSON parser node to read the response from the Web Run; and various assign nodes to access the variables from the JSON parser.
Bank Transactions
Banks tend to be (rightfully) extra secure, so there is a good chance that the authentication process when you are dealing with a bank’s API may be a bit too complex for the Web Run or Web Service nodes. We ran into this scenario with an interface meant to send out payments to a bank for a program allowing vendors to make their own payments to the client through the bank. To get around the complex authentication methods, we wrote a custom program to handle the API calls. It accepts any payload file and sends it to the bank. We opted to keep the process in IPA rather than going fully custom, because IPA offers quick and simple hooks into Lawson, as well as an easy scheduling interface. Also, it’s often ideal to keep all interfaces in one application for maintenance.
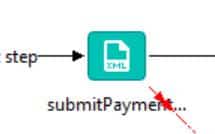
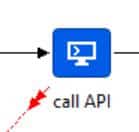
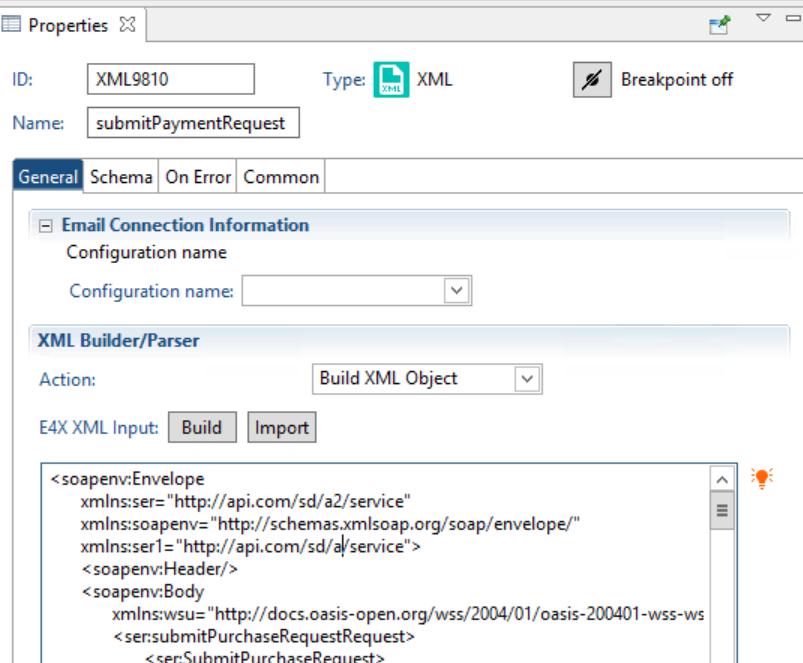
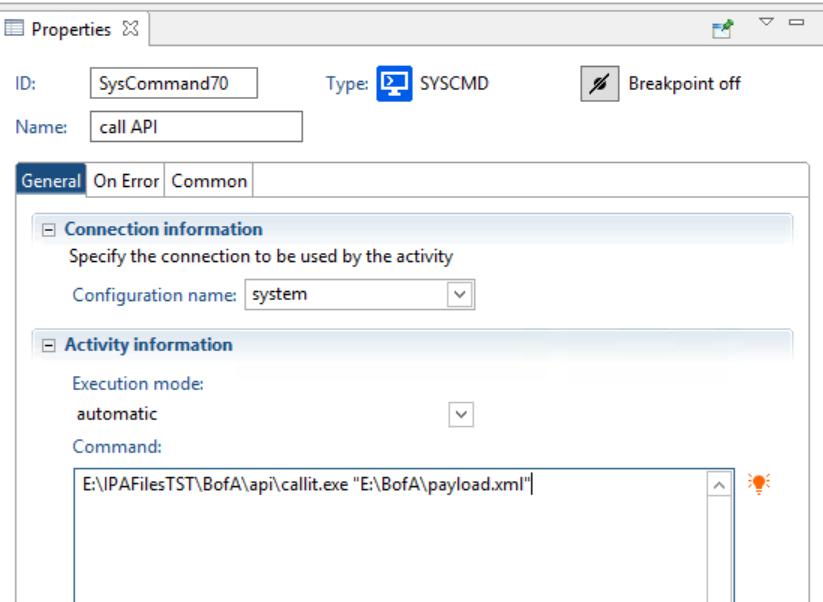
The key nodes for this process are the XML builder, where we build the API request in the required XML format, which is then saved to a payload file. Then, there is a system command node that calls the custom executable with the path to that file, and that is what actually makes the call.
Check out our webinar, “API Integration with Infor Process Automation” to learn how to use IPA to effectively communicate with third party applications in real or near-real time.
APIs provide a secure way for unrelated applications to communicate with each other. IPA allows you to utilize third-party APIs to integrate applications with Lawson. It is a way to export data such as employee records or purchase requests, as well as importing data such as time records or third-party billing & revenue.
Learn how to use IPA to effectively communicate with third party applications in real or near-real time.
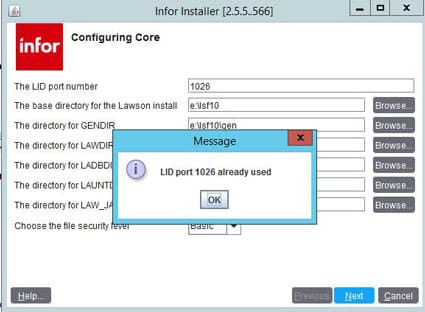
When performing an update of Lawson Core Technology, you may come across the error “LID port xxx already used”. If your services are stopped, and you know nothing is listening on the LID port, you may have to temporarily change the port to get the install to complete.
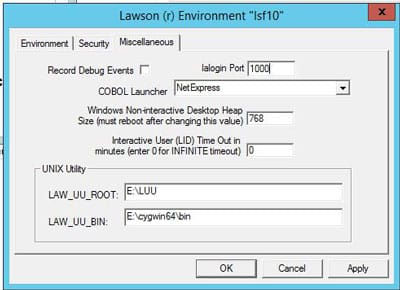
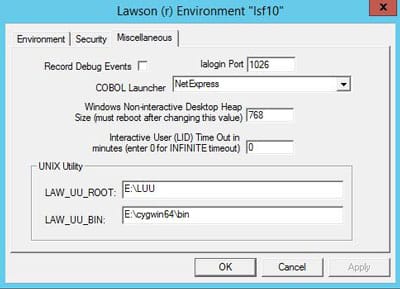
To change the port, open the command line as administrator and set the environment variables. Then, type the command “laconfig” to open the configuration screen. Change the “lalogin Port” to some other port that isn’t being used. Click “Apply” and “OK”. Continue with the technology update.
After the technology update, go back into laconfig. The port should have been set back automatically (based on the install.cfg file). If it isn’t, you can set it back manually.
Often, when you are having an issue with Lawson and/or Landmark, one of the questions Infor will ask you is whether your systems are federated. If you are unsure, there are a couple of simple ways to tell.
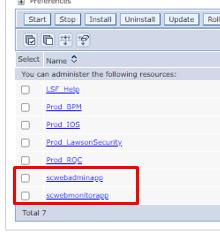
First, you could log into the WebSphere instance for your LSF application. Go to Applications > Application Types > WebSphere enterprise applications. If you see the application “scwebadminapp”, it is very likely that your systems are federated.
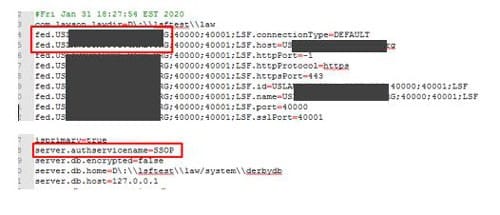
Another way to tell is to review the lsservice.properties file on either of your service (at LADIR/system for Landmark or LAWDIR/system for Lawson). If you see references to the remote server in these two files, and you see that there is an entry for “server.authservicename”, then your system is federated.
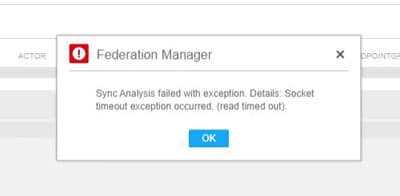
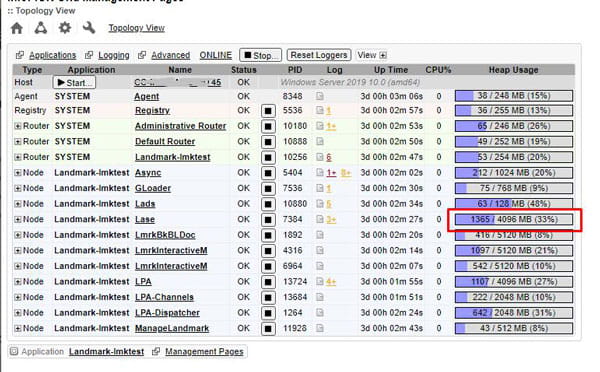
If you are running a Federation Sync in Landmark, and you get the below message “Socket timeout exception occurred”, you may need to increase the max heap on the lase node. This error message will also present itself in the security_authen.log on the Landmark server.
Sun Apr 25 17:07:26.438 EDT 2021 – 1584534648 – L(2) : Sync Analysis failed with exception. Details: Socket timeout exception occurred. (read timed out).
Stack Trace :
com.lawson.security.server.LawsonNetException: Socket timeout exception occurred. (read timed out).
at com.lawson.security.server.events.BaseEvent.readMsg(BaseEvent.java:235)
at com.lawson.security.server.client.ClientActorEvent.getNextActorIds2(ClientActorEvent.java:239)
at com.lawson.lawsec.authen.SyncAnalysis.getRemoteActorList(SyncAnalysis.java:2962)
at com.lawson.lawsec.authen.SyncAnalysis.loadActorsToSync(SyncAnalysis.java:1299)
at com.lawson.lawsec.authen.SyncAnalysis.performActorSyncAnalysis(SyncAnalysis.java:513)
at com.lawson.lawsec.authen.SyncAnalysis.run(SyncAnalysis.java:269)
at java.lang.Thread.run(Thread.java:748)
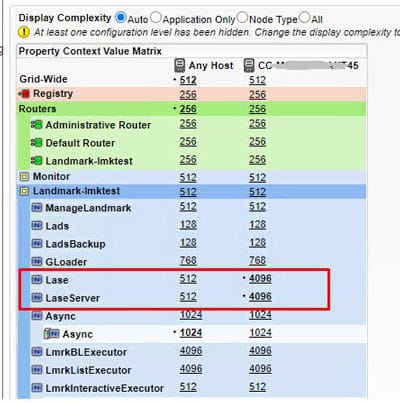
To update the lase max heap, open the Grid Admin window. Go to Configuration Manager > Grid Configuration > Grid Properties > Node Memory > Max Heap. Update the max heap to an appropriate level.
Save the setting and restart the lase node, or restart Landmark.
While you are running the federation sync, you can monitor the lase node in the grid’s topology view to see if your setting is appropriate for future syncs.
When dissecting the Object field of the comment (which contains the actual verbiage of the comment and other information) the first value is TYPE. This type determines the type of the comment that is stored.
The comment types for those added to an AP Invoice are as follows:
| Invoice Note/Report/Check Comments | Type=A |
| Invoice Notes | Type=N |
| Invoice Report Comments | Type=D |
| Invoice Check Comments | Type=C |
Keep in mind that to have the comments print on a check, not only would you need to have an Invoice Note/Report/Check Comments or Invoice Check Comments the users need to make sure that when the payment processing jobs (AP155/AP160 or AP161) needs to be set to Print or Include Comments.

