Here is a simple step-by-step guide on how to setup a distribution group in Lawson for a jobdef.
- Login into Lawson Interface Desktop (LID) and type in: grpdef
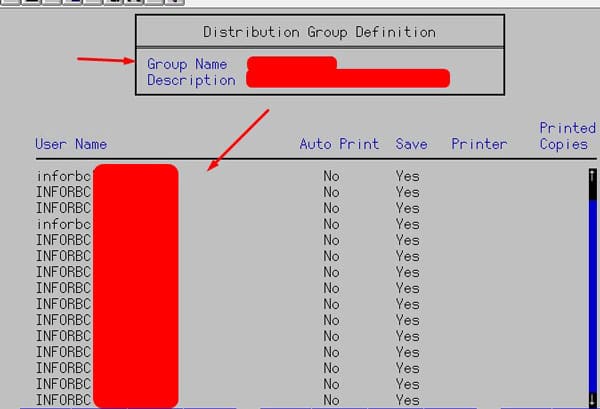
- Create a group name and add users to group

- Create a distribution list using command: dstlstgrpdef
- Add your group from step 2 to this new Distribution list
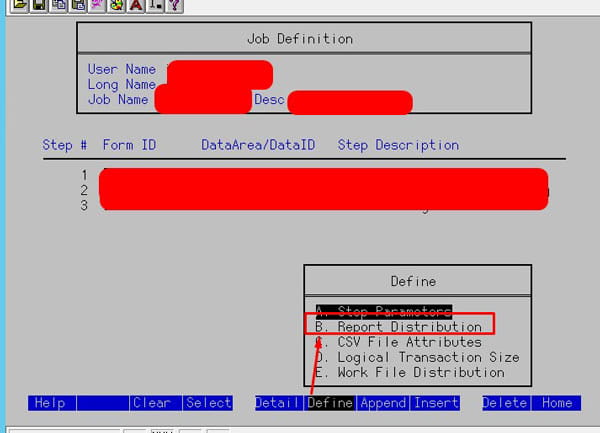
- Open jobdef select job you want >> Select step and press F6 >> B. Report Distribution

- Now arrow down to Destination and set as Dist Group, under Group/* Print, type your group name or Distribution List. This should populate a list of users on the right side.

- So when this job runs, the PRT and Error file will be placed in these users print directories. Press Enter twice to save changes.

If you found this article helpful, Nogalis offers managed services and expert technical resources to assist with Lawson system configurations like setting up distribution groups. Whether you need help managing user groups, optimizing workflows, or maintaining your Lawson environment, our managed services provide the support you need to ensure smooth operations. Contact us to learn more about how we can assist with your Lawson system.