
Replacing Expired Certificates for LDAPS
Installing LDAP certificate in AD LDS instance
- Identify the AD LDS service instance in Services
- LSF
- Launch MMC (Microsoft Management Console)
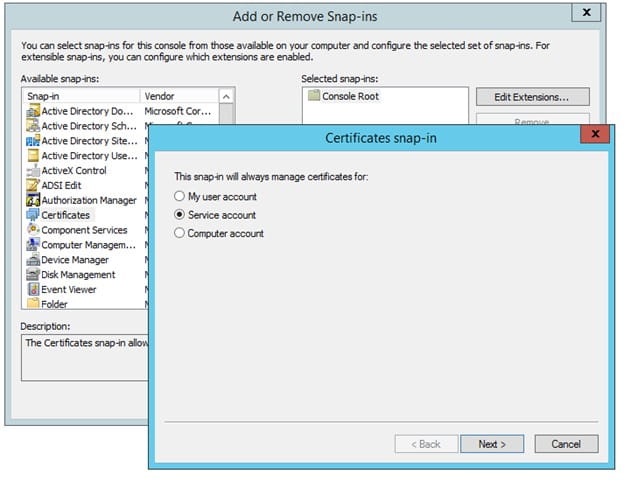
- Choose File > Add/Remove Snap-In
- Add the certificates Snap-In
- Choose “Service” account and click “Next”
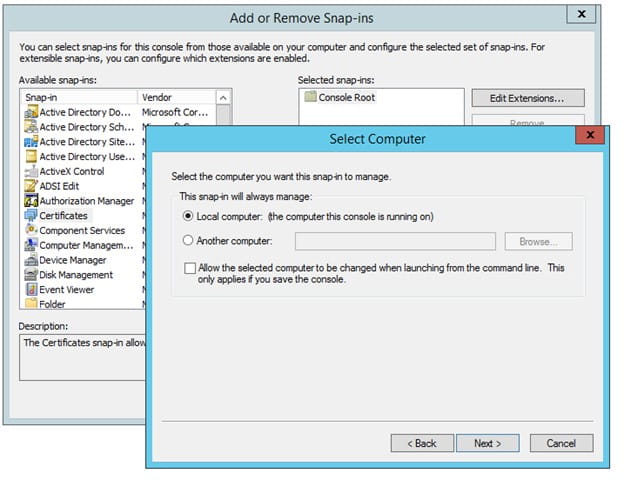
- Choose “Local Computer” and click “Next”
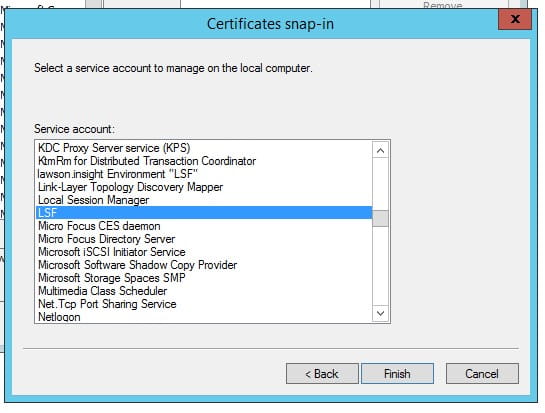
- Choose the Service Account for your AD LDS service and click “Finish”


- Right-click on the service that was added and select “All Tasks > Import”
- Click next and browse to the .pfx certificate file. Click “Next”
- Enter the private key password
- Place the certificate in the <AD LDS service>\Personal store
- Click Next then Finish
Export the certificate for Java OS & Java WebSphere
- Right click the certificate > All Tasks > Export and click Next
- Do not export the private key
- Choose Base-64 encoded X.509 (.cer) and click Next
- Choose a location to save the file for later use
- Click finish
Grant Permissions to Certificate Container
- Run command “certutil -store MY’
- Find the container with your AD LDS certificate using the thumbprint to identify it
- Give NETWORK SERVICE read & execute permissions on the key container file AND the key container directory (C:\ProgramData\Microsoft\Crypto\RSA\MachineKeys)
- Stop the AD LDS environment service
- Restart the AD LDS service
Smoke Test
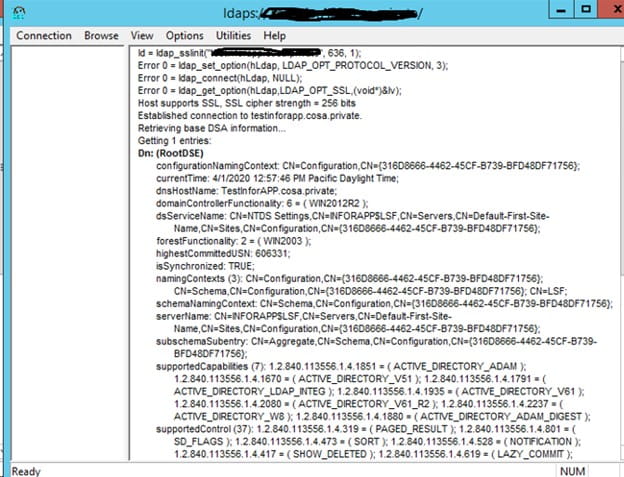
- Open the ldp.exe tool
- Type the server FQDN > SSL port and check the SSL box
- Click “OK”
- Successful connection to LDAPS

Update the LDAP Certificate in WebSphere
Cell Trust Store
- Access the WAS Admin Console and navigate to: Security > SSL certificate and key management > Key stores and certificates > CellDefaultTrustStore > Signer certificates
- Click the Retrieve from port button.
- Host: <your AD LDS host>
- Port: 636
- Alias: give it a meaningful name
- Click Retrieve signer information.
- Click OK & save changes.
Node Trust Store
- Access the WAS Admin Console and navigate to: Security > SSL certificate and key management > Key stores and certificates > NodeDefaultTrustStore (for the LSF server) > Signer certificates
- Click the Retrieve from port button.
- Host: <your AD LDS host>
- Port: 636
- Alias: give it a meaningful name
- Click Retrieve signer information.
- Click OK & save changes.
Perform these same steps in the Landmark websphere instance.
Update LDAP Certificate in OS Java
Do this in both Lawson and Landmark
- Open a command line and set environment variables
- Run command “where java” to determine where LAW_JAVA_HOME is located
- Back up <LAW_JAVA_HOME>/jre/lib/security/cacerts
- Copy the cert that you exported from the LSF service from the Lawson server to the Landmark server
- This is the cert you will be importing into cacerts
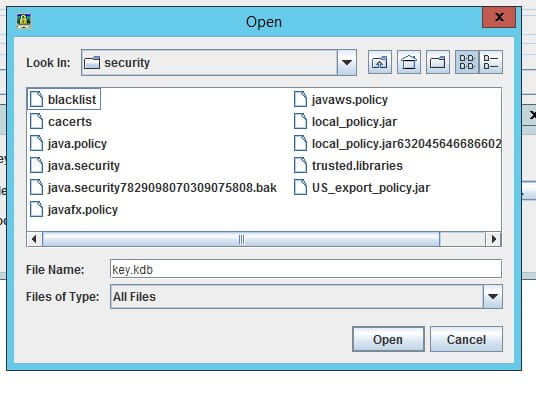
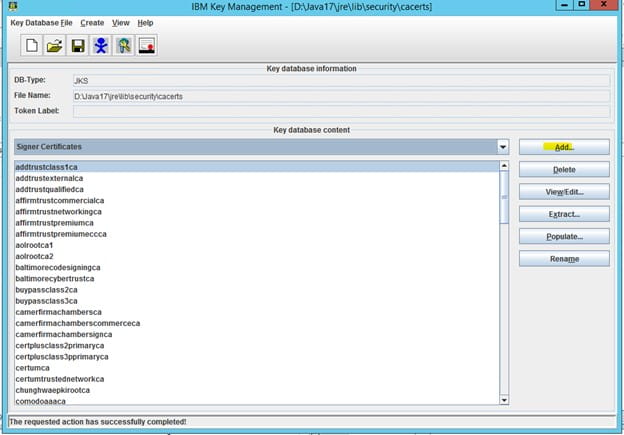
- Run the ikeyman utility at WAS_HOME/bin
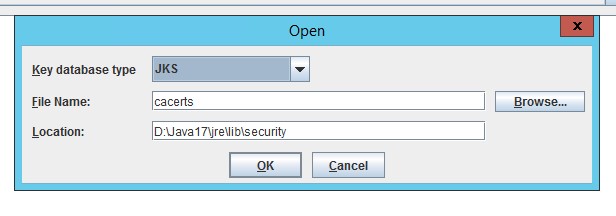
- Open the LAW_JAVA_HOME/jre/lib/cacerts file and select the Key database type of JKS


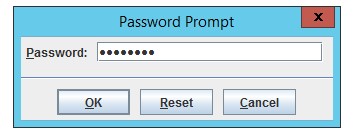
- Type password “changeit” (default)

- Select “Signer Certificates”
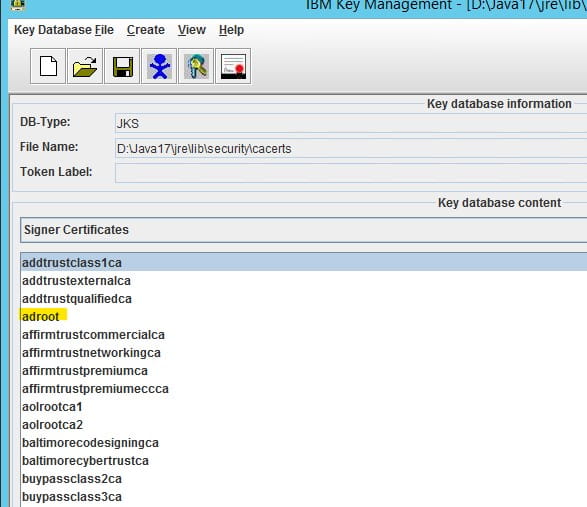
- Delete the existing certificate, then re-add it

- Click “add” and navigate to the ldap certificate exported earlier
- Give it a meaningful name

Update LDAP Certificate in WebSphere Java
- WebSphere Java directory is WAS_HOME/Java
- Back up files WAS_HOME/java/jre\security/cacerts
- Peform the same steps as OS Java using iKeyman for both Java instances
Retiring Lawson, PeopleSoft, or Oracle? APIX archives the entire application — every table, every year, attachments and security included — into your own AWS account in about 30 days, so you can decommission the legacy system and keep full access to the history.


Leave a Reply
Want to join the discussion?Feel free to contribute!