Creating an LBI Dashboard Series – Adding a Module (Part 2)
To start at the beginning, check out Part 1 of this series titled: “Creating an LBI Dashboard Series – Getting Started (Part 1)”
For this part in the series, we will be adding a simple module to our new LBI Dashboard.
- First login into LBI environment as an admin user.
- Go to your newly created dashboard
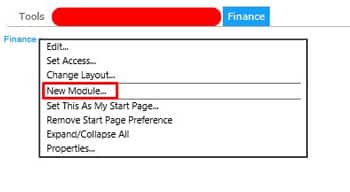
- Click the + icon on the top left and select “New Module”

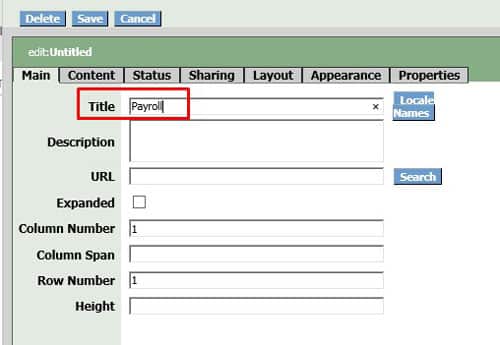
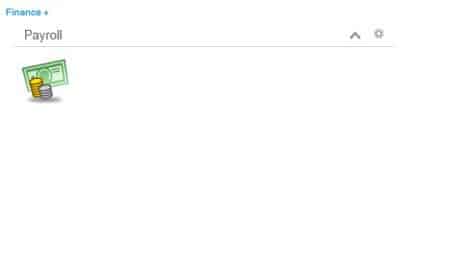
- On the Main tab, title your module, ours will be called “Payroll”

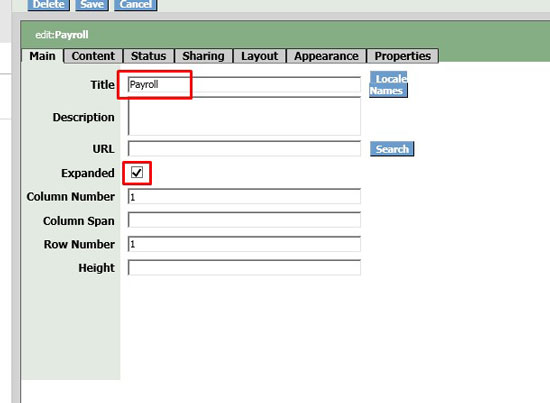
- By Default, the module will inherit access from the Dashboard itself, if you want to further restrict each module to separate users, you would do this again here. The expanded checkbox is great for convenience as the Module will be expanded by default:

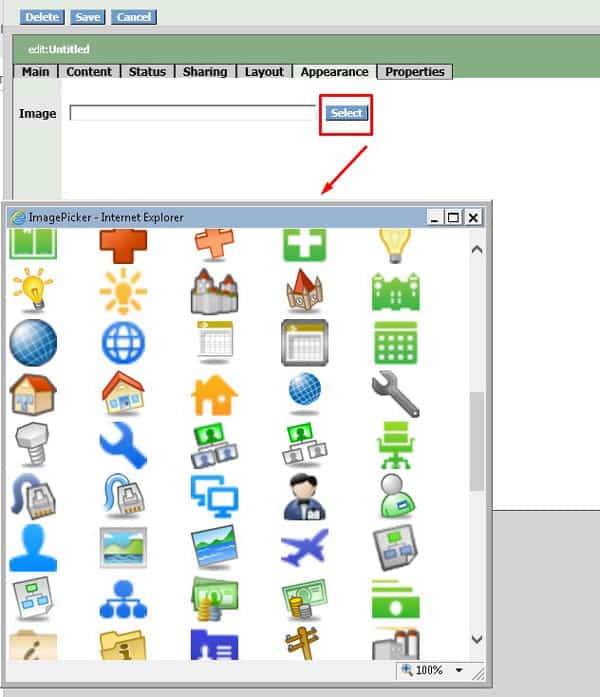
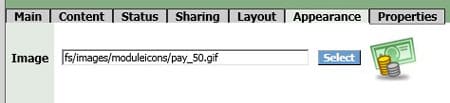
- Go to Appearance Tab and select a Icon for your module to help distinguish it from others, we will select the money icon for Payroll module:


- When done select Save and you should see a blank Module in your dashboard:

- To add reports to this module, click the gear wheel icon in the top right of the module and select Add Items and then Search. You can also select a direct URL but this is much easier.
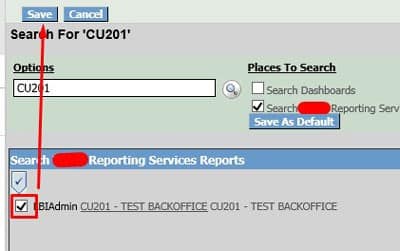
- A Searchbox should come up, this is to search all existing LBI reports. Type in the report name you want, check “Search Reporting Services Reports” and click the search icon to see the results.

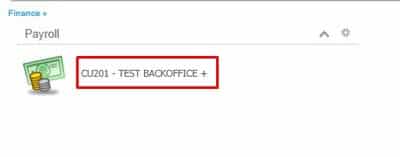
- Once you find your report, select it and click Save:


You’ve created a report module in your dashboard and added your first report!
That’s all for this article, keep an eye out for more in our LBI Dashboard series.
