
How to install Oracle ODBC client for windows
It is ridiculously difficult and ambiguous how you’re supposed to get the Oracle ODBC driver installed on your Windows machine. It’s certainly not a simple task. Well, since I figured it out today I thought I would document it.
First you need to download all three of these files from oracle
1) instantclient-basic-win-
2) instantclient-odbc-win-x86-
3) instantclient-sdk-win-x86-
Extract the contents of all the above into a single directory called D:\Oracle\Ora11\
That directory doesn’t exist and you’ll have to create it first.
Now with all the files copied in there, create the following windows environment variables:
1) OCI_LIB64 = C:\Oracle\Ora11
2) ORACLE_HOME = C:\Oracle\Ora11
3) TNS_ADMIN = C:\Oracle\Ora11
Also, add “C:\Oracle\Ora11” to your PATH variable.
At this point you MUST reboot. No other way around it. Simply restarting the explorer task won’t do.
After the reboot, create the following directory: C:\Oracle\Ora11\Network\Admin
Place your tnsnames.ora file inside this new directory.
Open a cmd prompt as administrator.
cd to the C:\Oracle\Ora11
On the command prompt type the following command:
odbc_install.exe
You should receive a message that says: “Oracle ODBC Driver is installed successfully.”
The new ODBC driver is only in the ODBC 64-bit data sources.
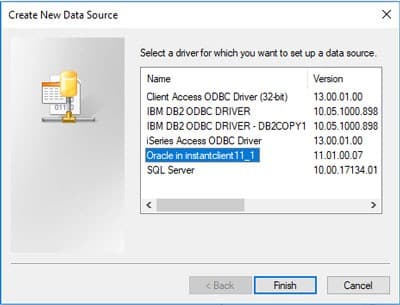
You can now add a new one like so:
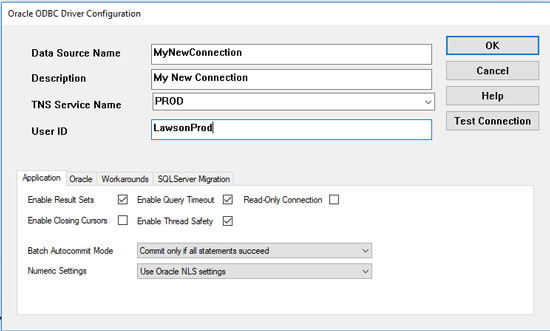
Just remember that your tnsnames.ora file must contain the service you’re trying to connect to.

