Installing BSI TaxFactory 10 for Your New Lawson 10 Environment
System Preparation
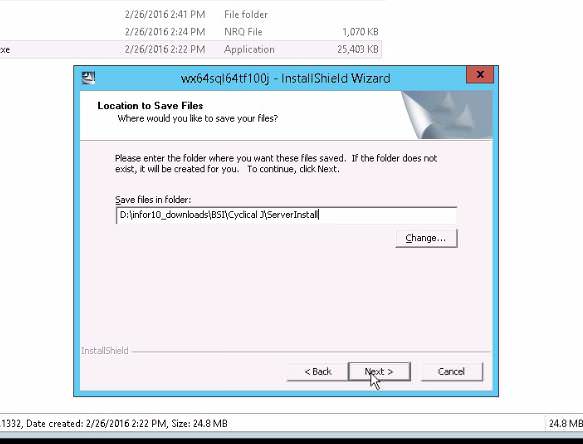
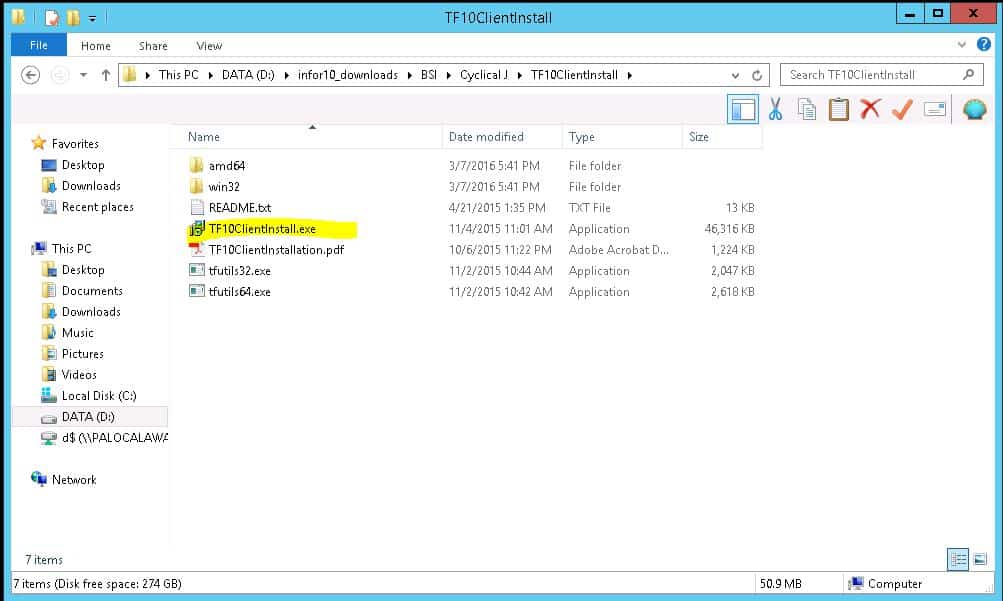
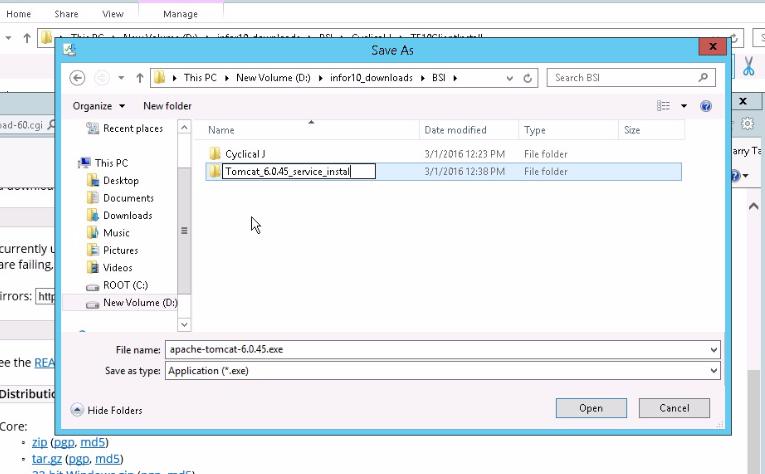
- Get the latest BSI installation file and save to the Infor downloads folder on the server
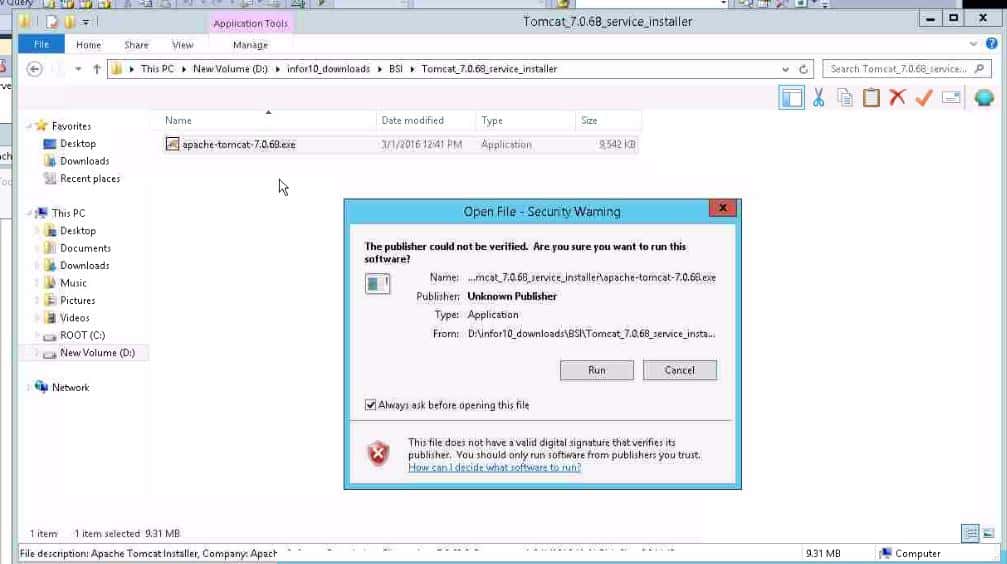
- Run the executable to unpackage the installation files
Database Preparation
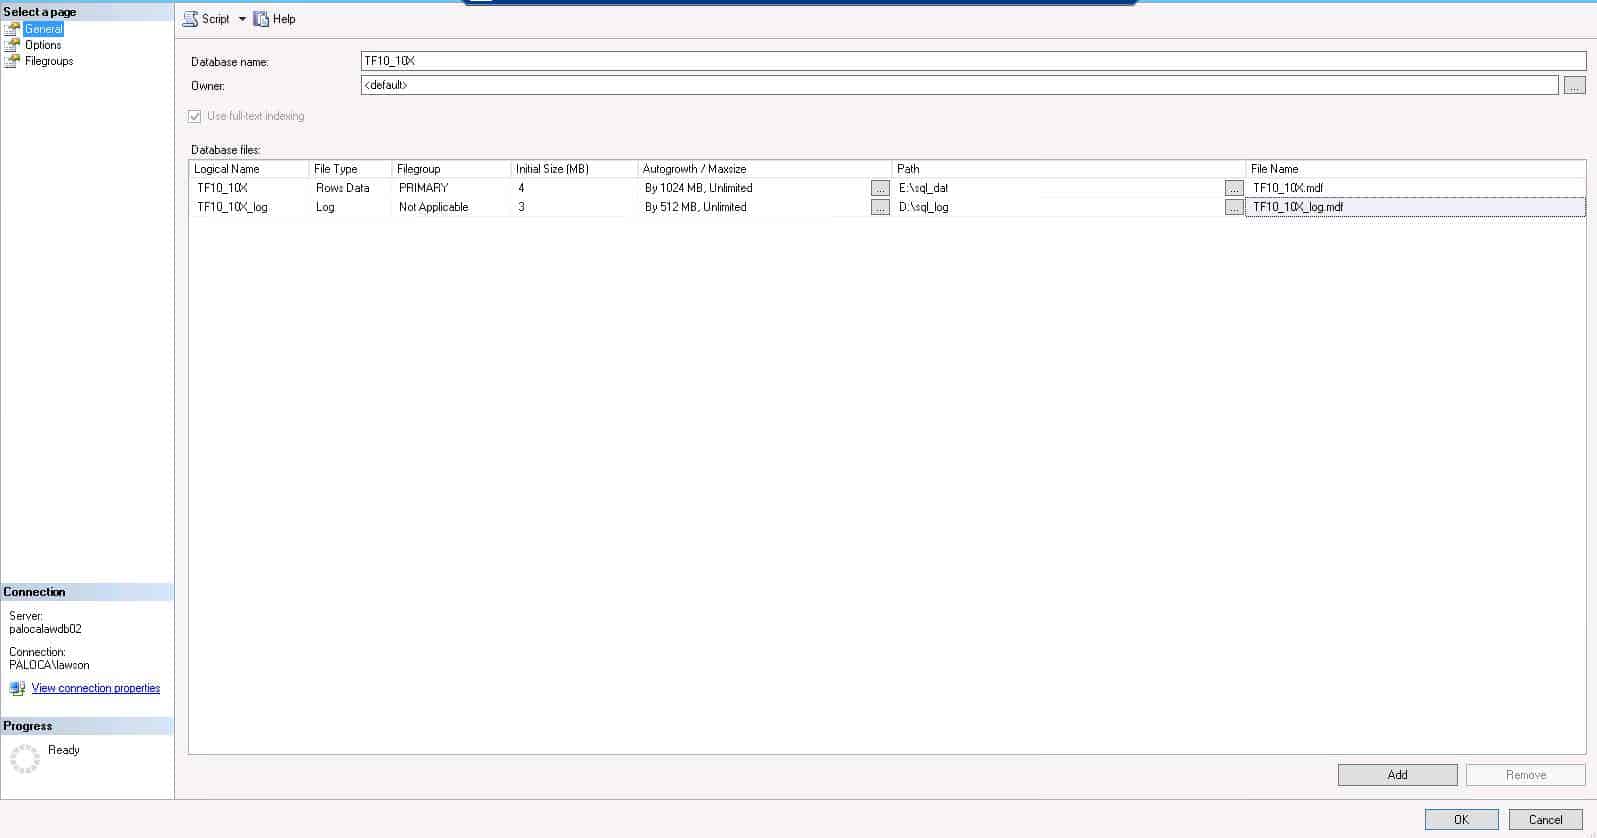
Create the TF10 database
- Open SQL Server Management Studio
- Create TF10_10X database
- Right click on databases > New
- Set the file locations under General
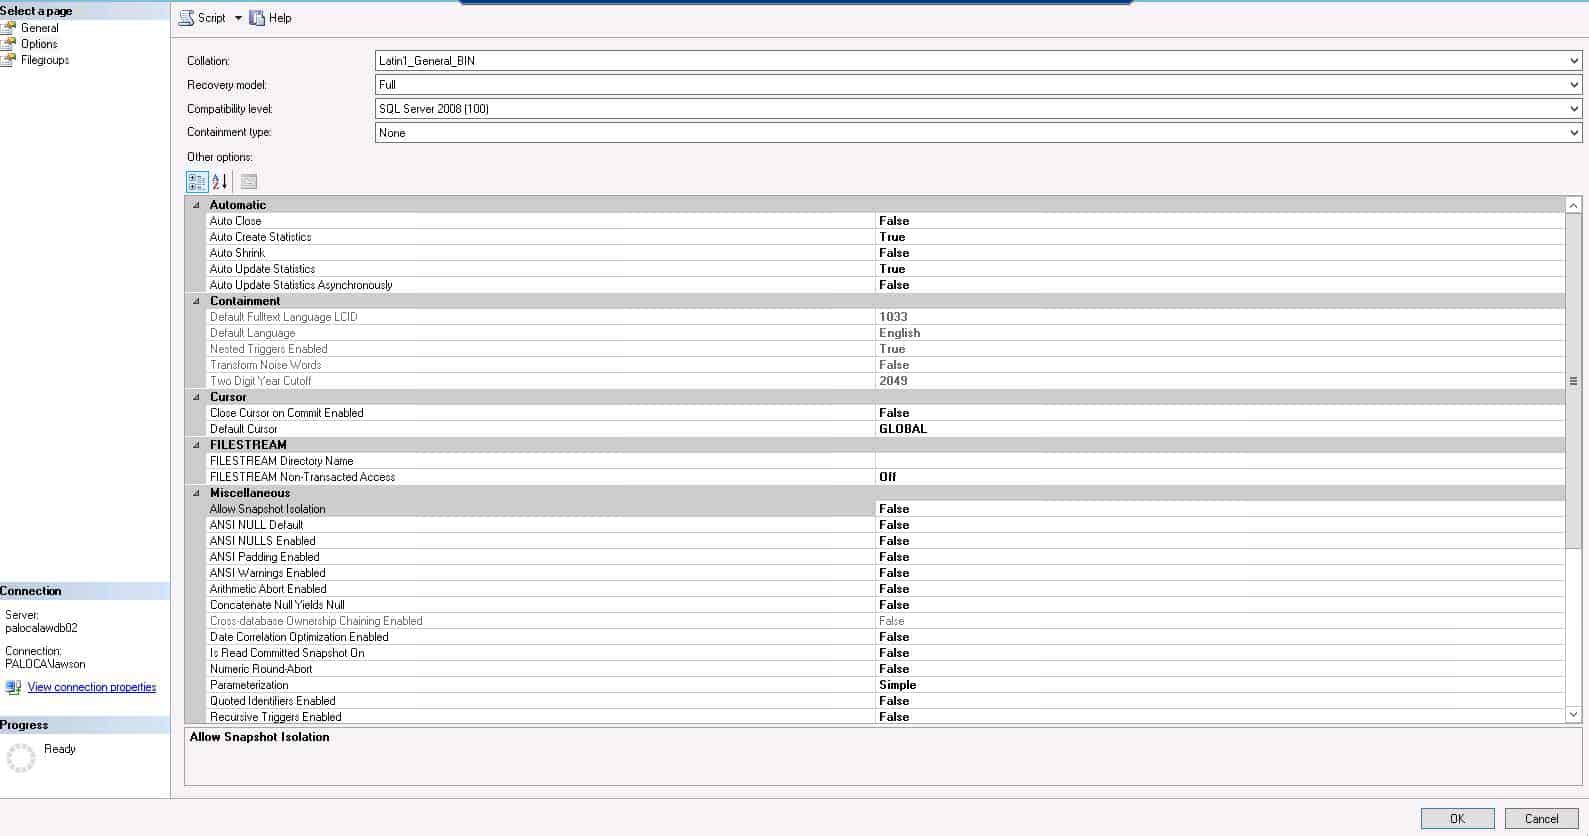
- Options Menu
- Set collation to Latin1_General_Bin
- Recovery model = Full
- Compatibility Level = SQL Server 2008
- Keep the other defaults
Create the TF10 user
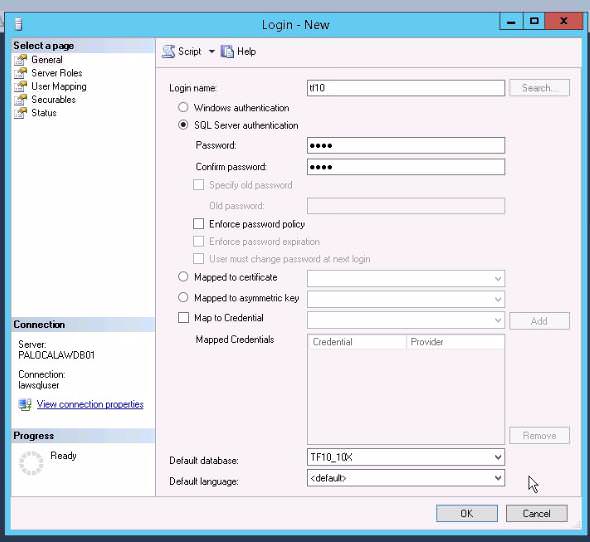
- In SSMS, right click on the main Security server and select “new Login”
- Login name = tf10
- Use SQL Server authentication
- Password is usually tf10 unless the client request a different password
- Default Database = (your desired database name)
- Click OK

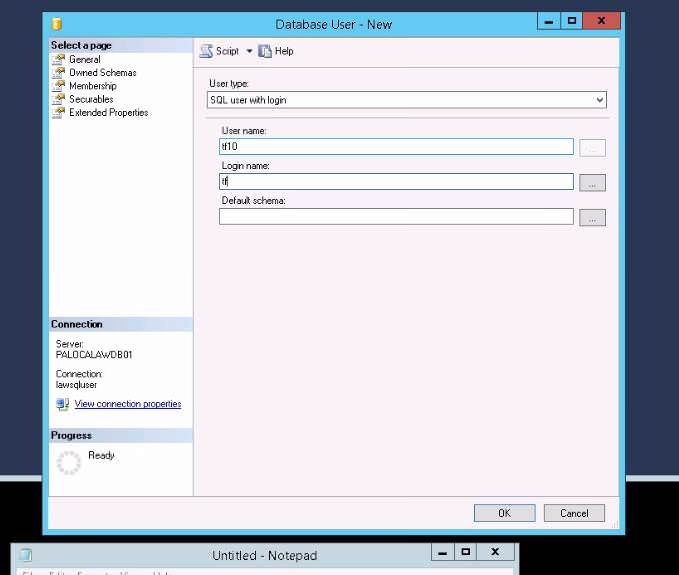
- Add the user to your database
- Expand the database in SSMS
- Expand the security folder
- Right click on Users > New
- User name = (tax factory user)
- Login name = (tax factory user)
- Default schema = leave blank for now
- Click Ok
BSI SQL Scripts
- Locate the SQL scripts within the BSI installation files (ServerInstall/SQL)
- crtschma.sql
- Creates the tax factory schema
- tf10sqv.sql
- Creates the table structure for tax factory
- noessqv.sql
- Resets BSI TaxFactory extended security to off
Adjust Database Permissions
Adjust db permissions now that schema has been created:
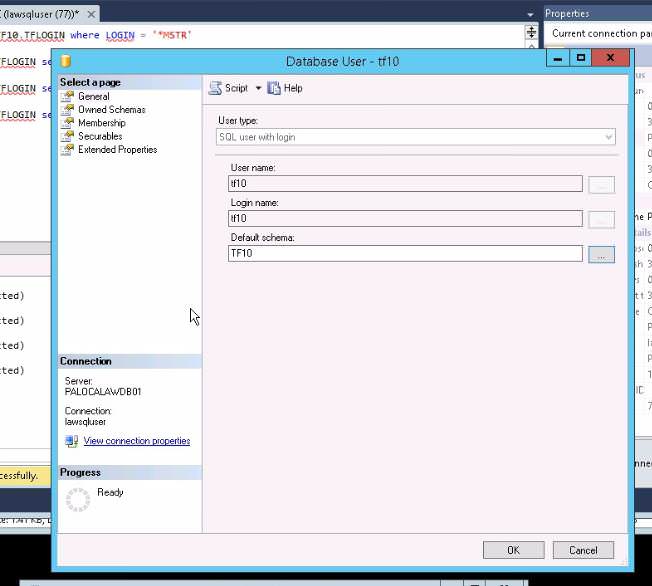
- Edit the database user on the new database
- Make the new schema the Default schema
- Click OK

- Under Owned Schemas, select the new schema

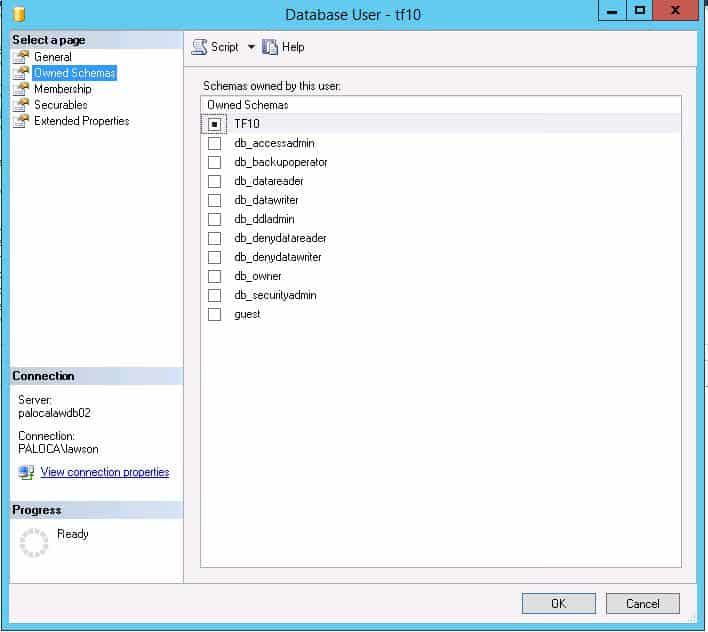
- Under “Membership”, select db_owner

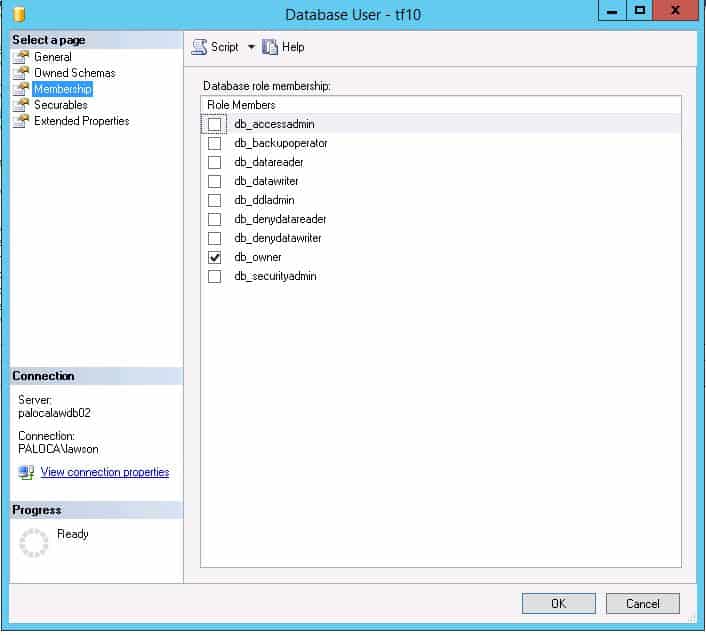
- Click OK
System Configuration
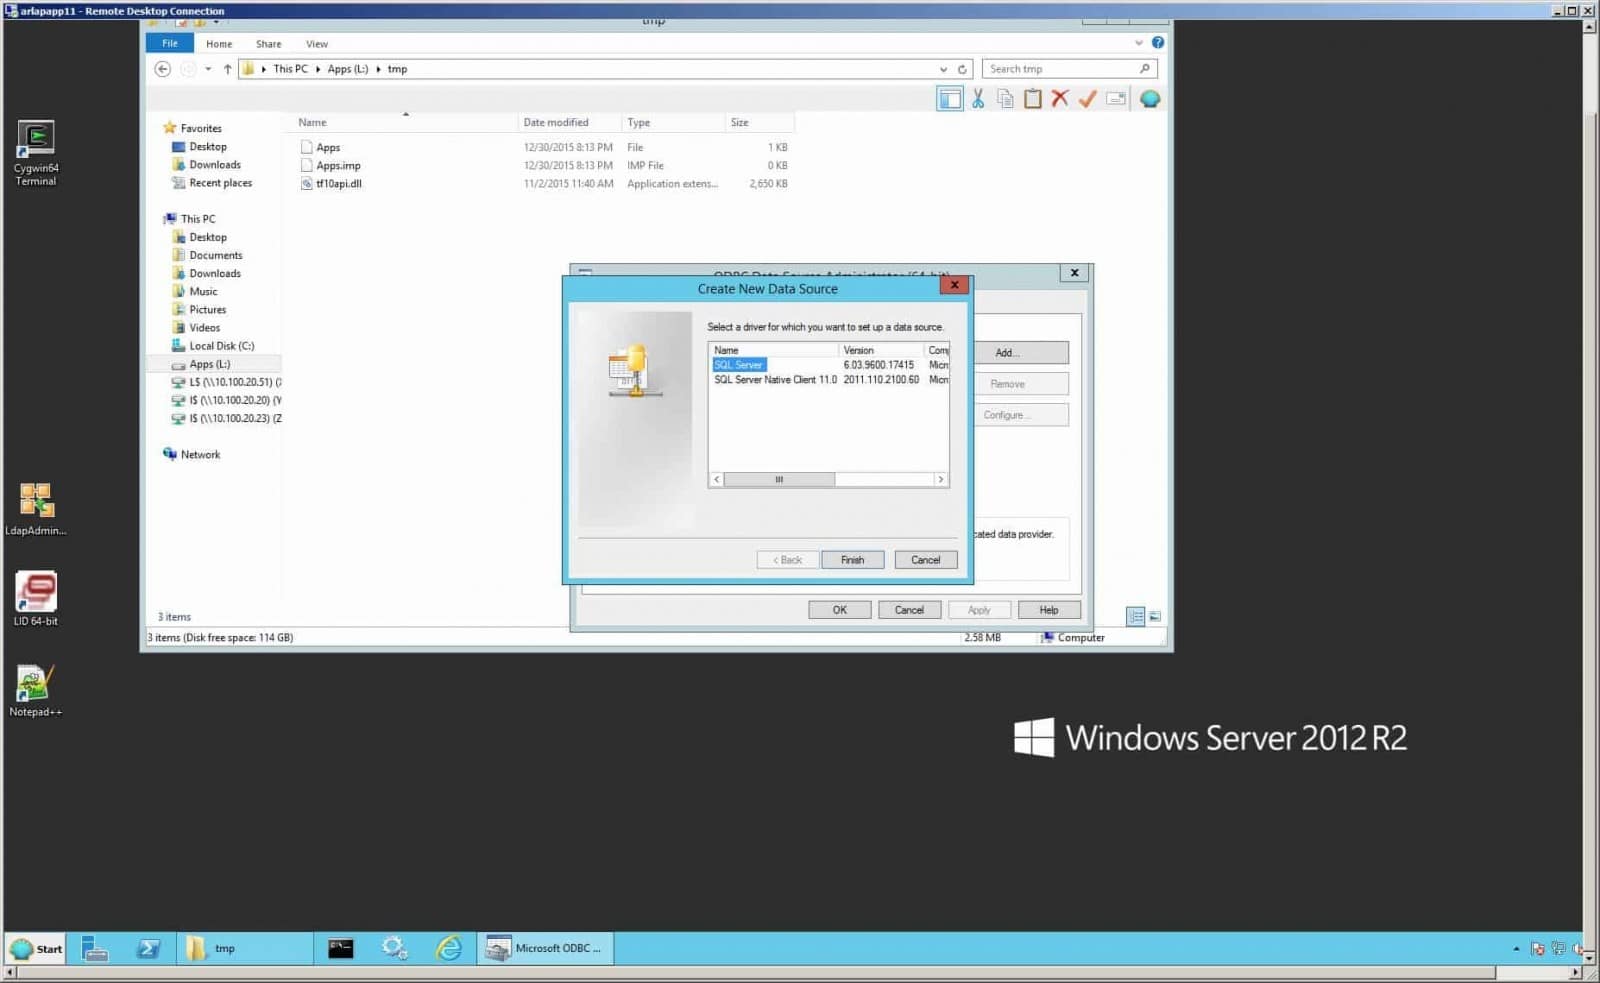
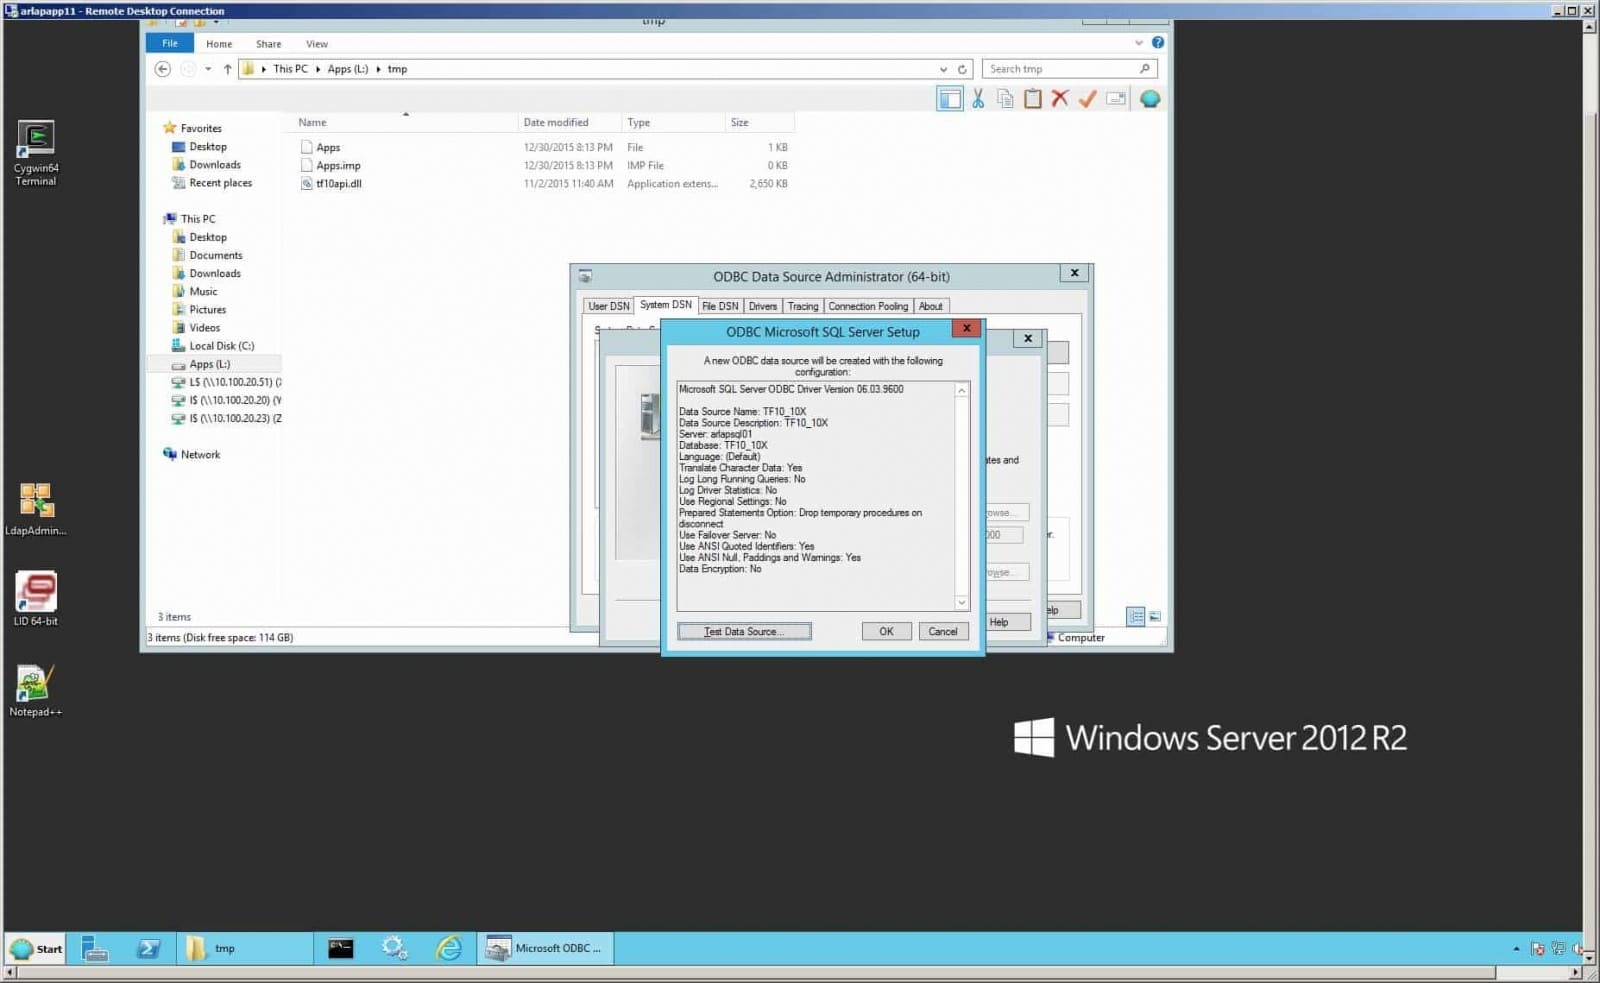
Set up ODBC
- Open the ODBC (64-bit) tool
- Go to the System DSN tab and click “Add”

- Driver is SQL Server


- Data source name = (meaningful name)
- Description = (meaningful description)
- Server = client’s database server name (SQL Server where you installed the database)

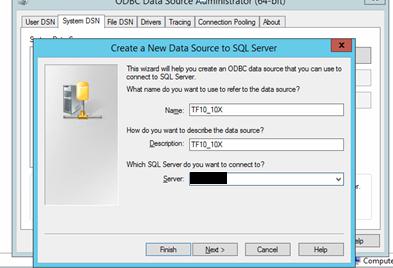
- Use SQL Server authentication
- Provide the login credentials

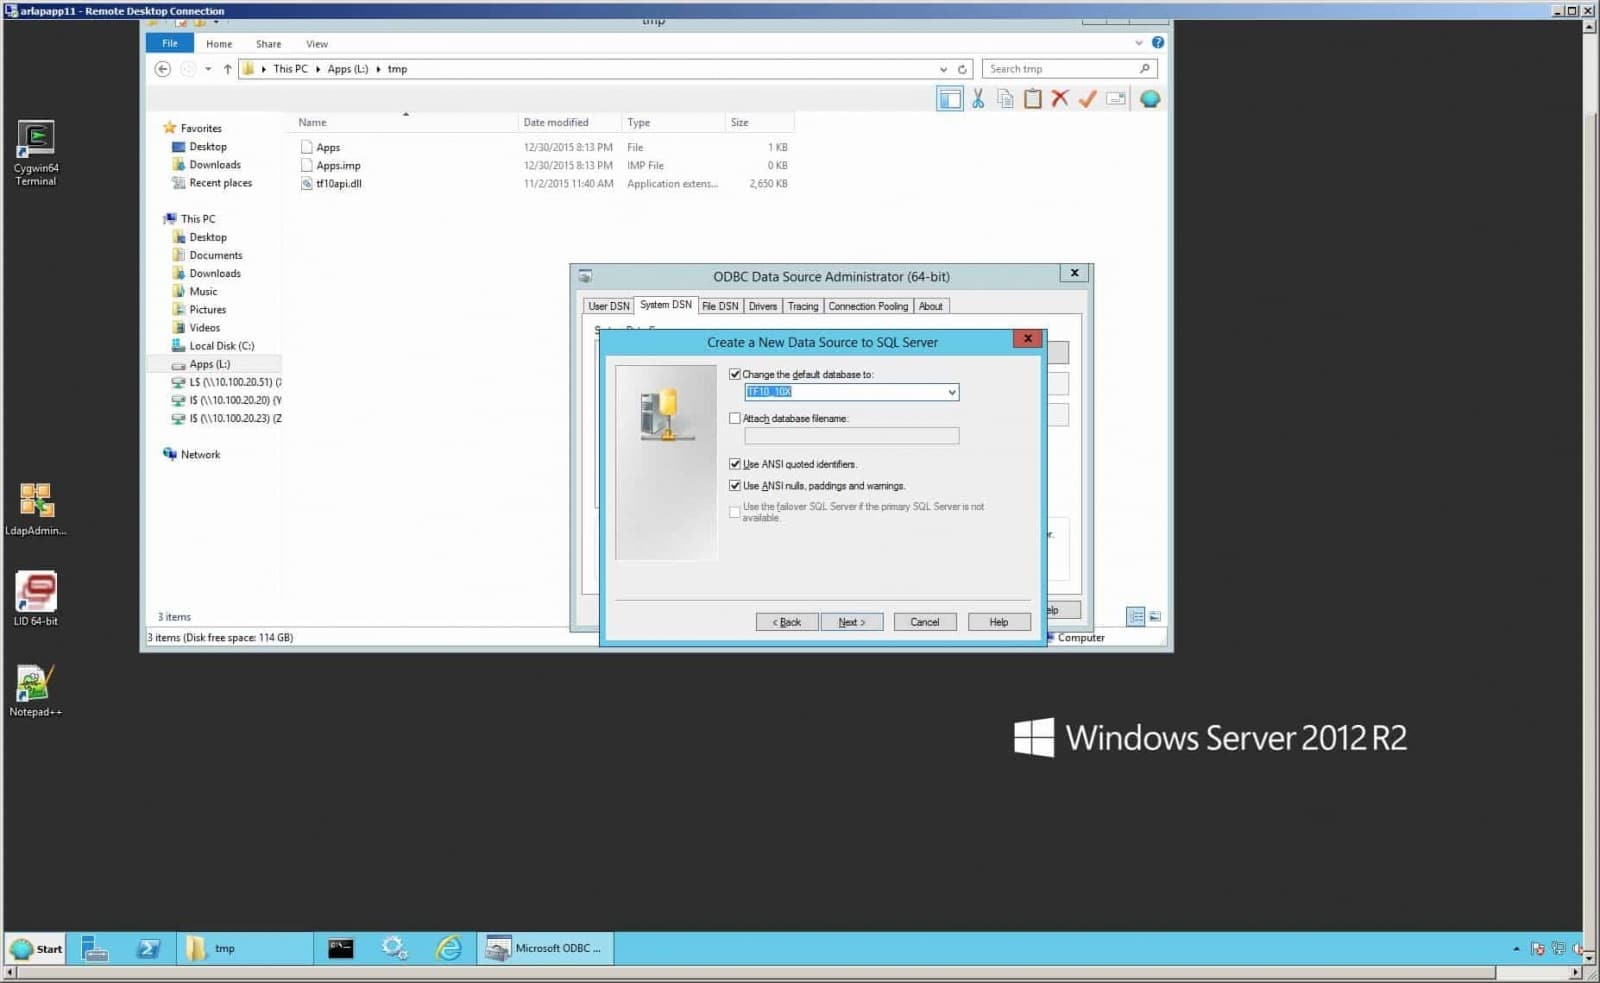
- Keep the defaults on the rest of the screens

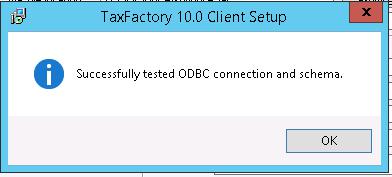
- Test the data source
Environment Variables

- Create dataset environment variable
- Create the TF10_CONNECT_STRING environment variable using the login credentials for the ODBC data source you just created

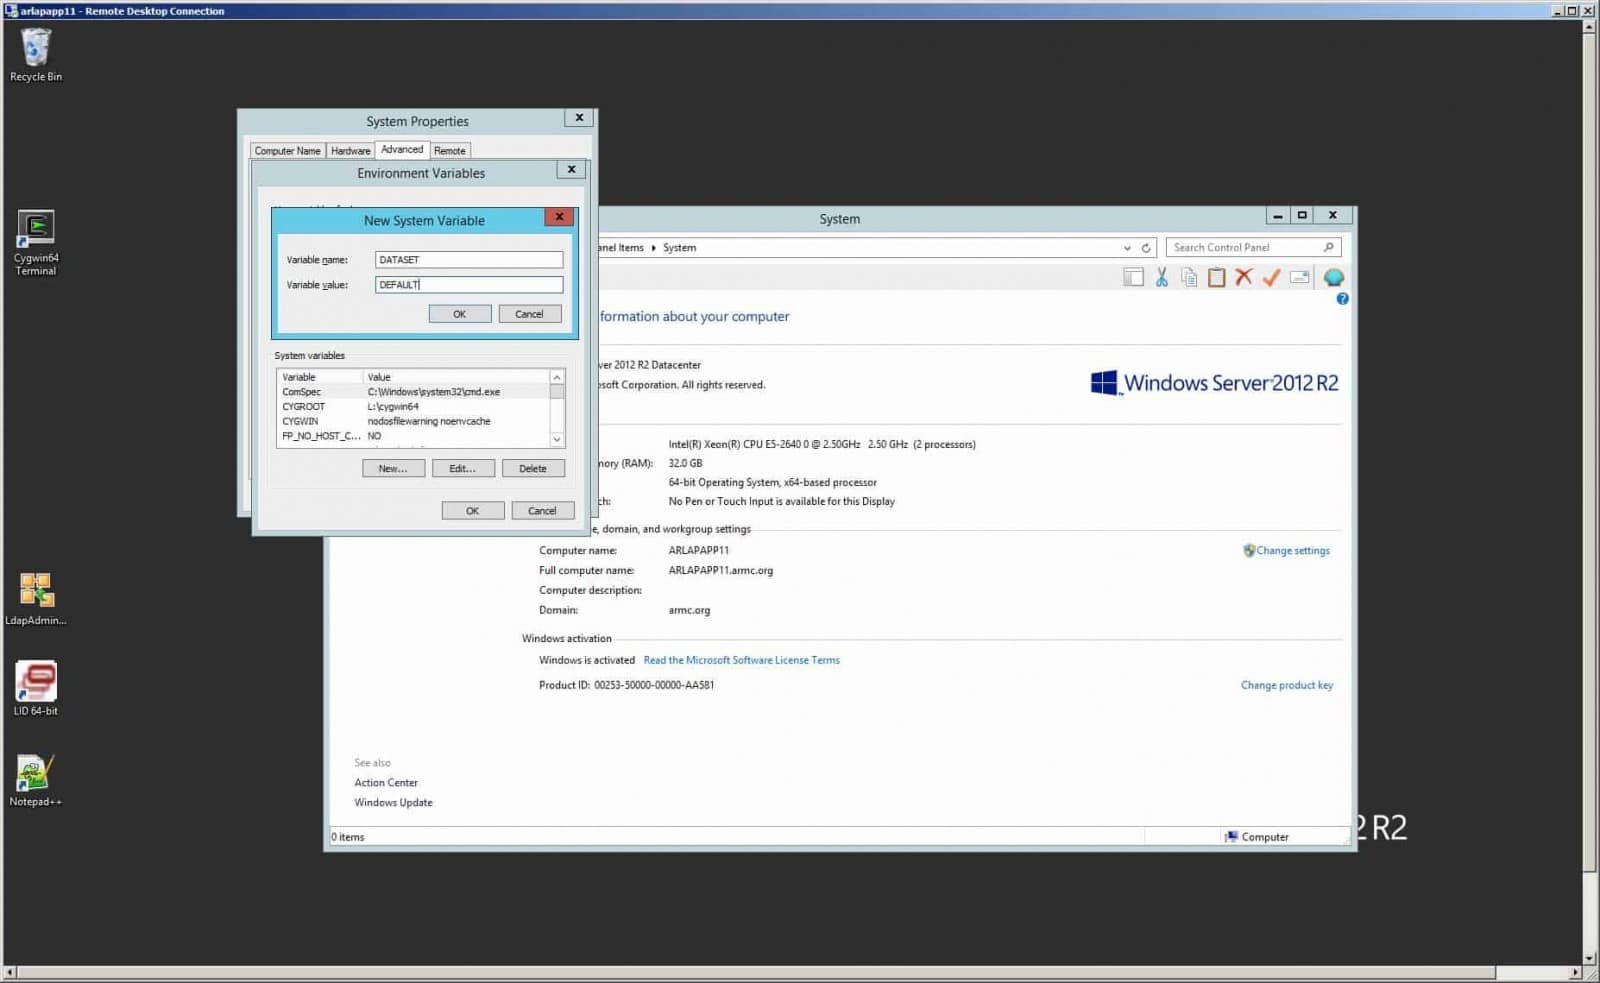
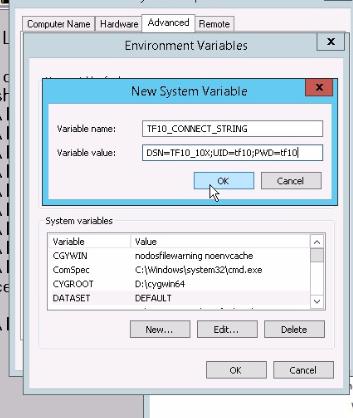
- Reboot for env variables to take effect
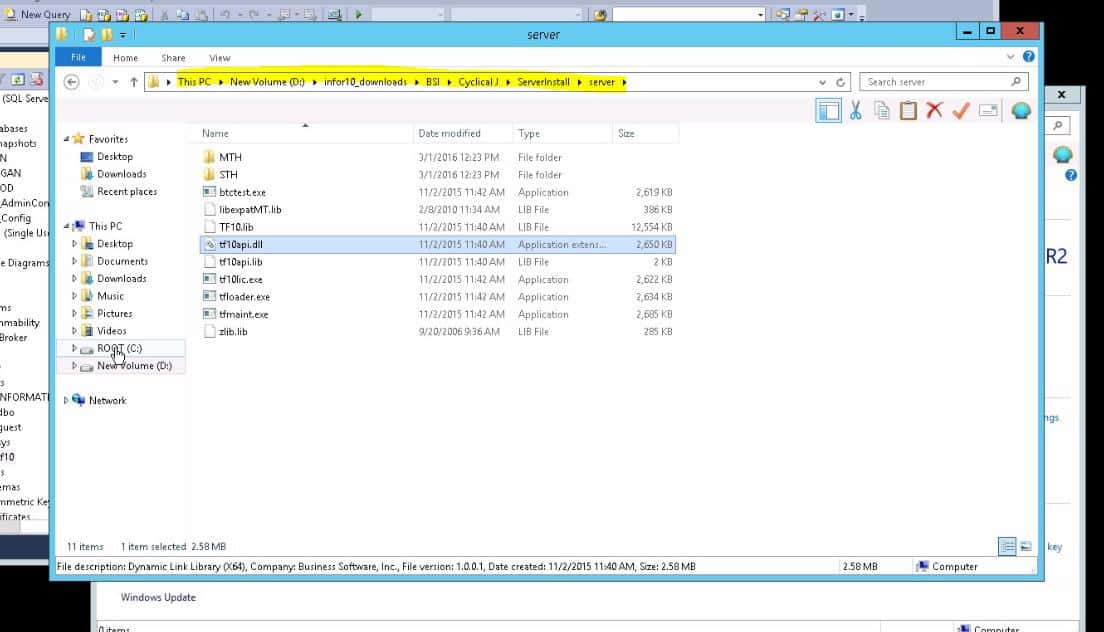
Copy application files
- Copy new tf10api.dll from the installation files (ServerInstall\server) to Lawson application server (C:\Windows\System32 & C:\Windows\System)

Installation
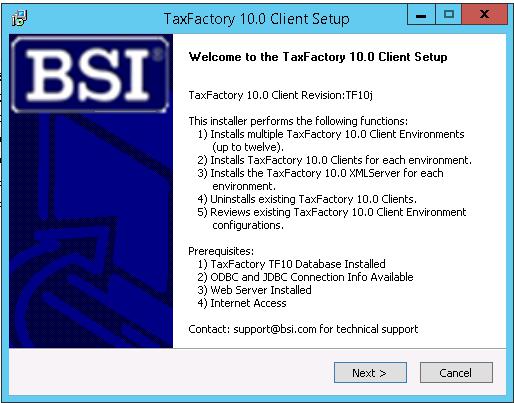
Install Client Application
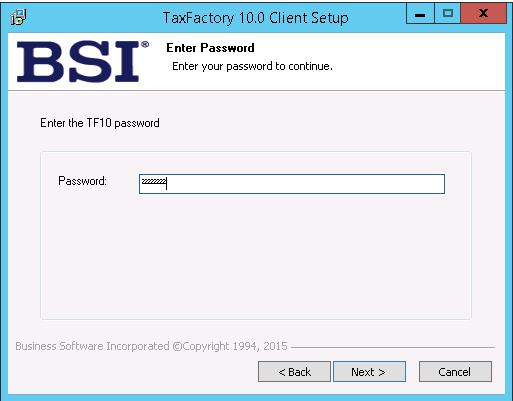
- Obtain BSI password needed for TF10 install from BSI Customer Services
- Install TF10 – TF10ClientInstall.exe on the BSI application server (adding a new BSI instance such as test, qa, test, etc)


 (password obtained from BSI customer services)


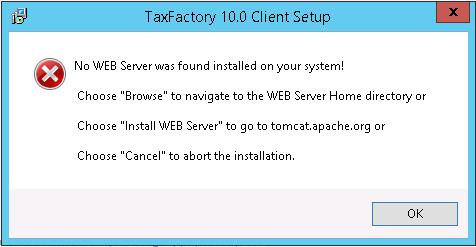
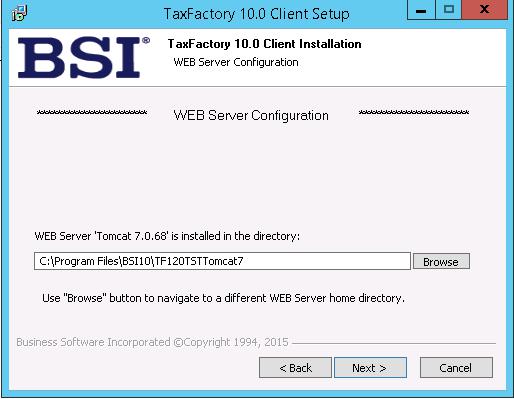
- If prompted to install Web Server, refer to Apache Tomcat installation instructions

- Select the Tomcat installation directory (will most likely default)

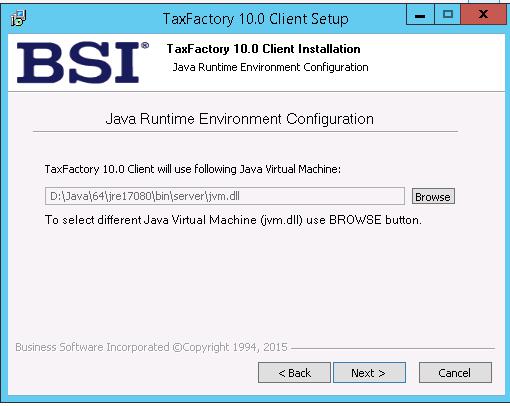
- Select the JRE configuration file (will most likely default)

- Choose the XML server corresponding to the system configuration
- Select a directory for the server base

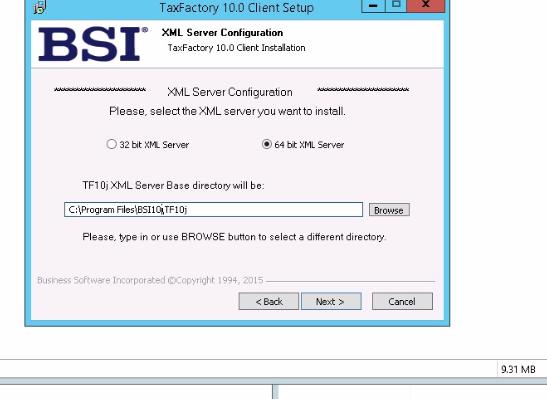
- Choose Install

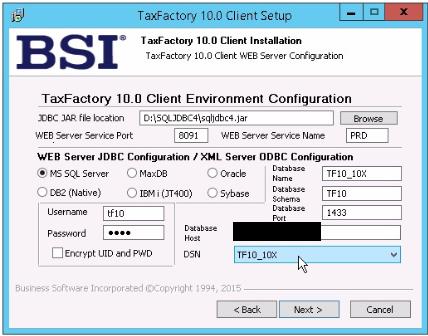
- Enter the corresponding system information and click Next
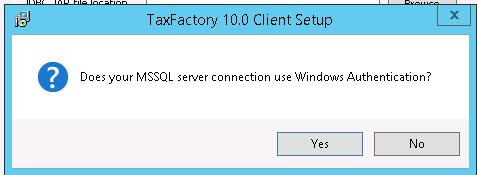
- Clicking on the MS SQL Server ODBC configuraiton will prompt the system to ass if you use Windows Authentication. Select “No”.


- Clicking on the MS SQL Server ODBC configuraiton will prompt the system to ass if you use Windows Authentication. Select “No”.
- Can install up to 3 test instances on same server, but each one would have different WEB Server Service Port
- Repeat this section for the remaining test instances
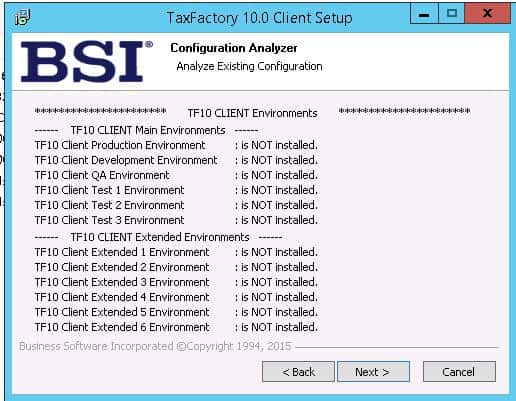
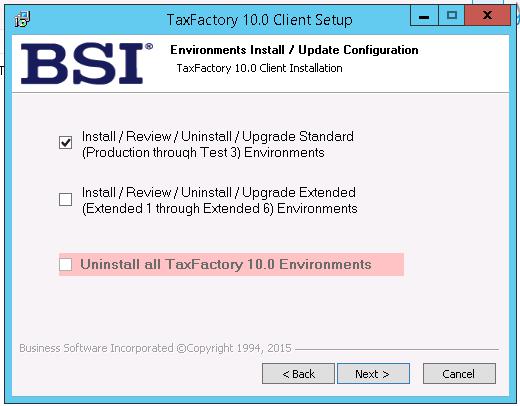
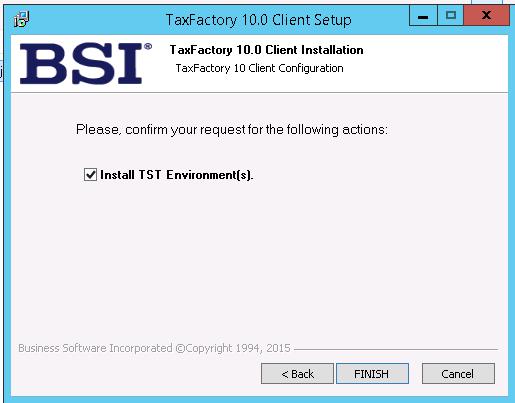
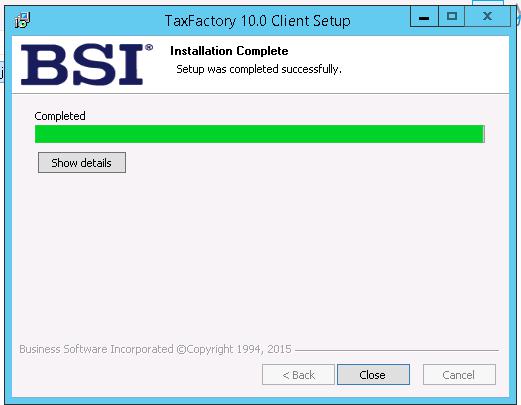
- When you are finished with all instances, select the environments to be installed and click “FINISH”


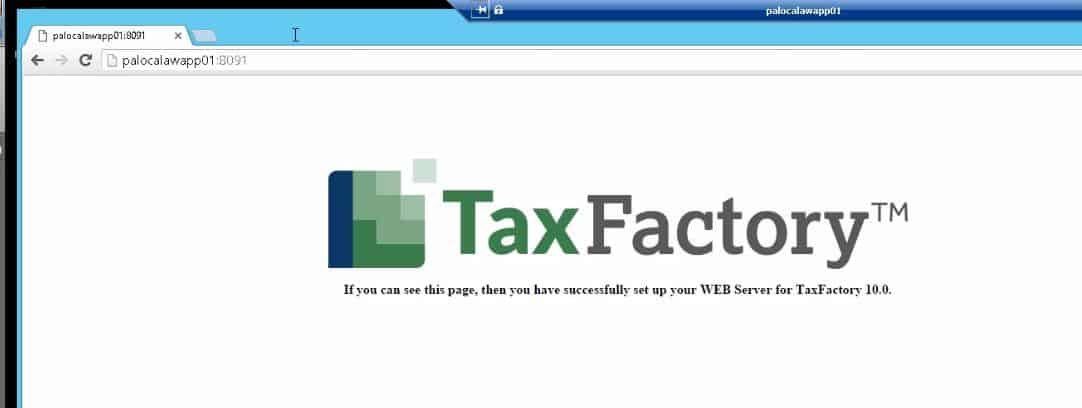
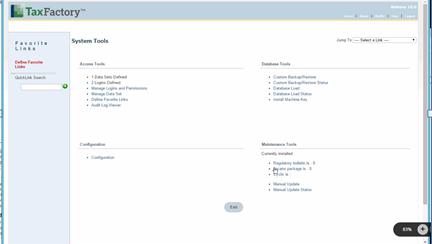
Test the install
- Open <server>:<port> for the initial test

- Open the custom site that you installed and log in
- Check the System tools
- Regulatory bulletins should be 0
- Cyclic should be blank
- Log into server:port/ef10x/PRD
- Where “x” is the cyclical release and “PRD” is the environment

- Where “x” is the cyclical release and “PRD” is the environment
Cyclical Data Refresh
- Back up new 10x database
- Back up the current 901 BSI database
- Restore the 901 data to the 10x database to preserve all the tax updates.
- NOTE: During db restore, be SURE to confirm the target db file names, will probably need to change.
- Kill the bsi services running on bsi xml server, then sp_who2 to kill any remaining processes
- Take db offline


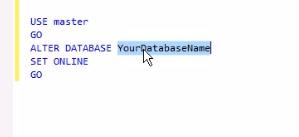
- Restore the database
- Restore of db disconnects users
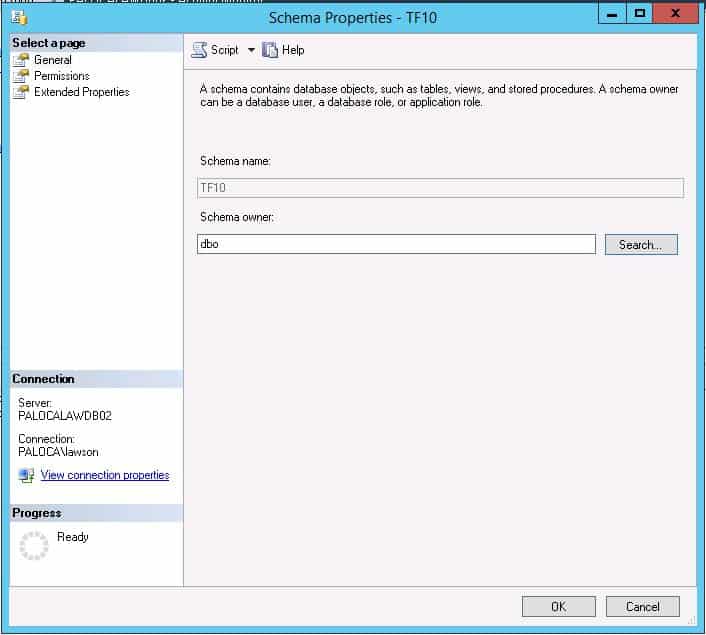
- Assign the tax factory and db_owner schemas to dbo
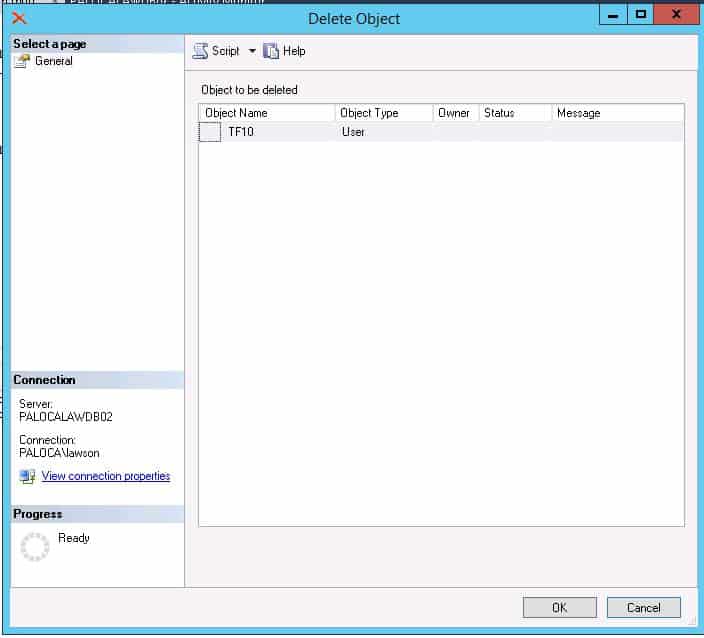
- Delete and recreate tax factory user following instructions above

- Log into the BSI site and verify that the Cyclical update inofrmation is now populated
Install Machine Key
As INFO: table containing the BSI machine key:
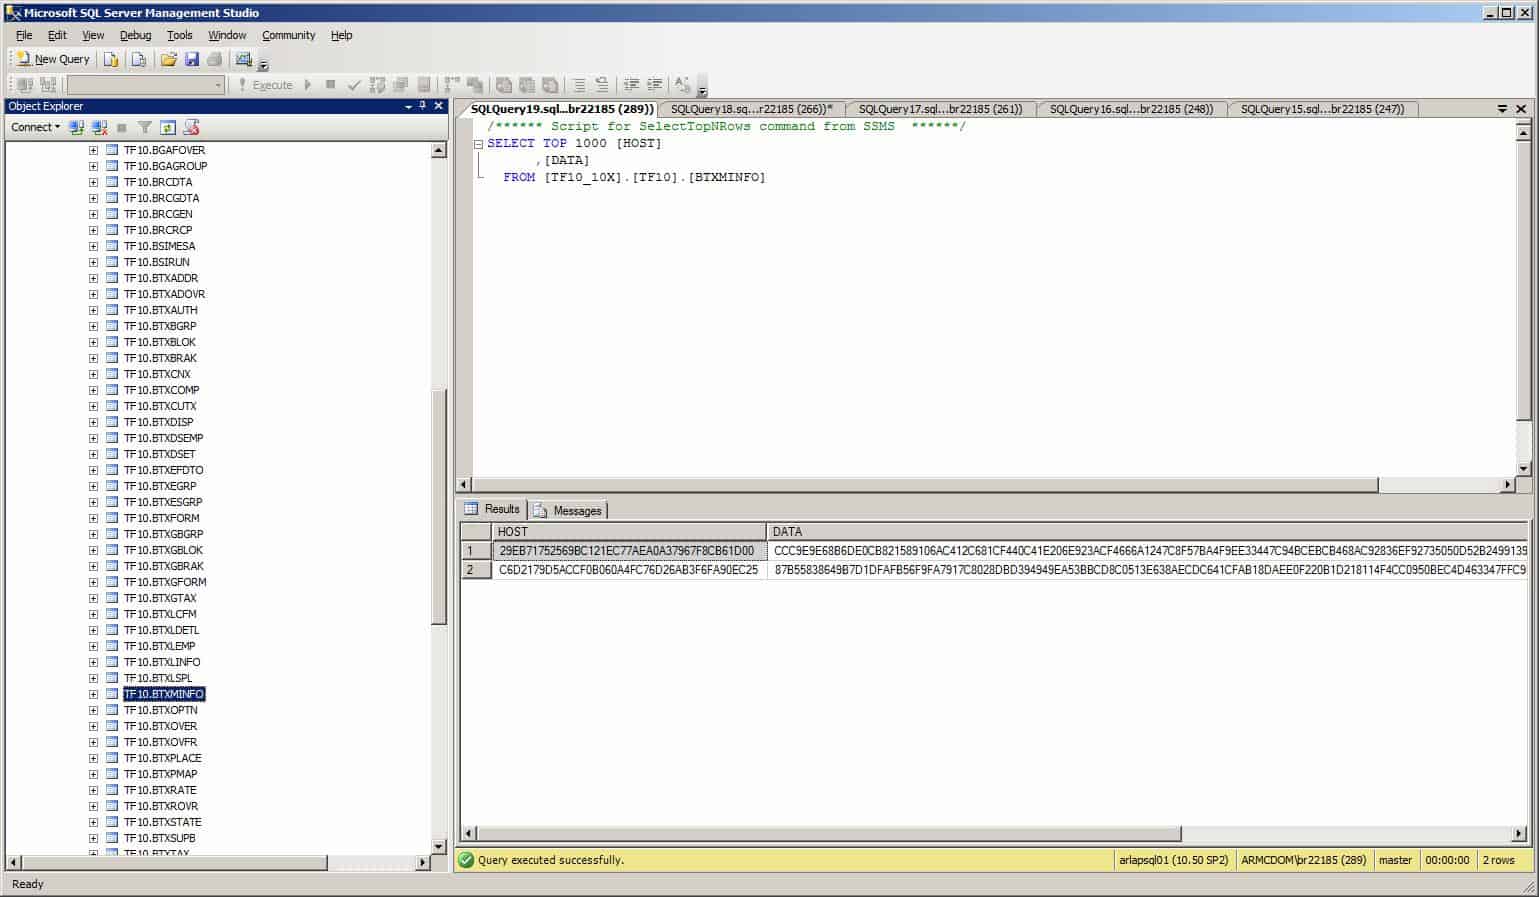
- Install Machine Key – if/when we have it
- Generate from BSI site, Maintenance, Maintain Machine Key
- Bring up web client, System Tools, Database Tools, Install Machine Key
- Can skip the load regulatory bulletins, cyclic files, etc, since DB restore was performed
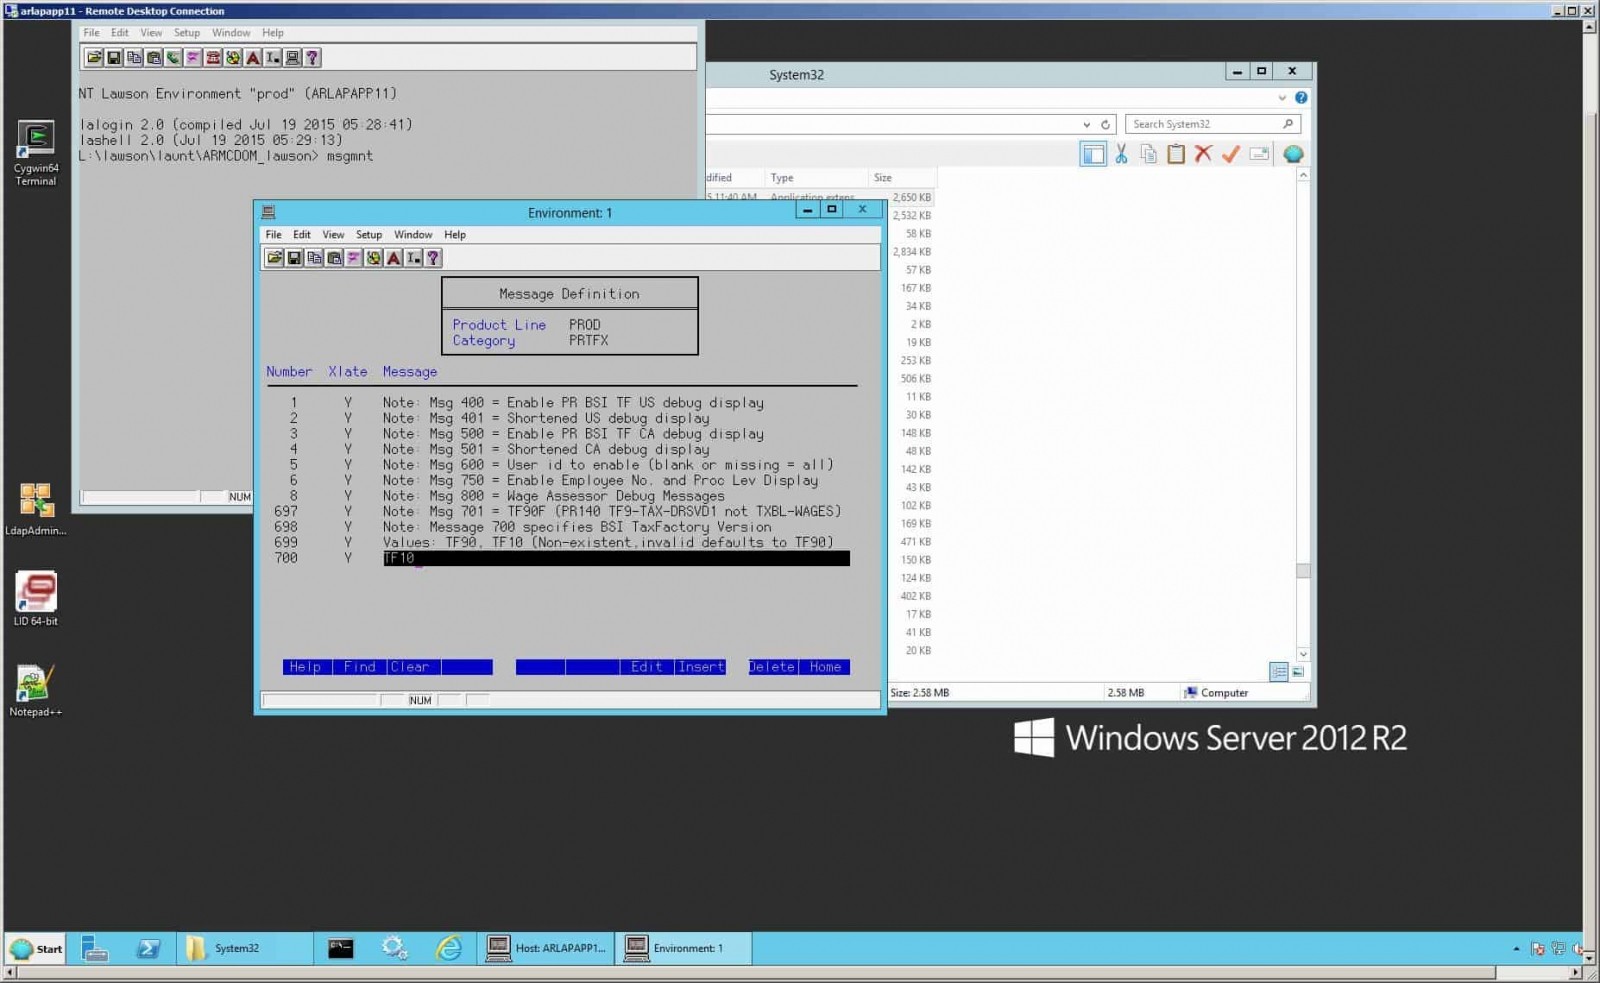
PRTFX
- Open LID
- Type in msgmnt
- Update Lawson PRTFX Message Definition, (change bottom TF90 to TF10)
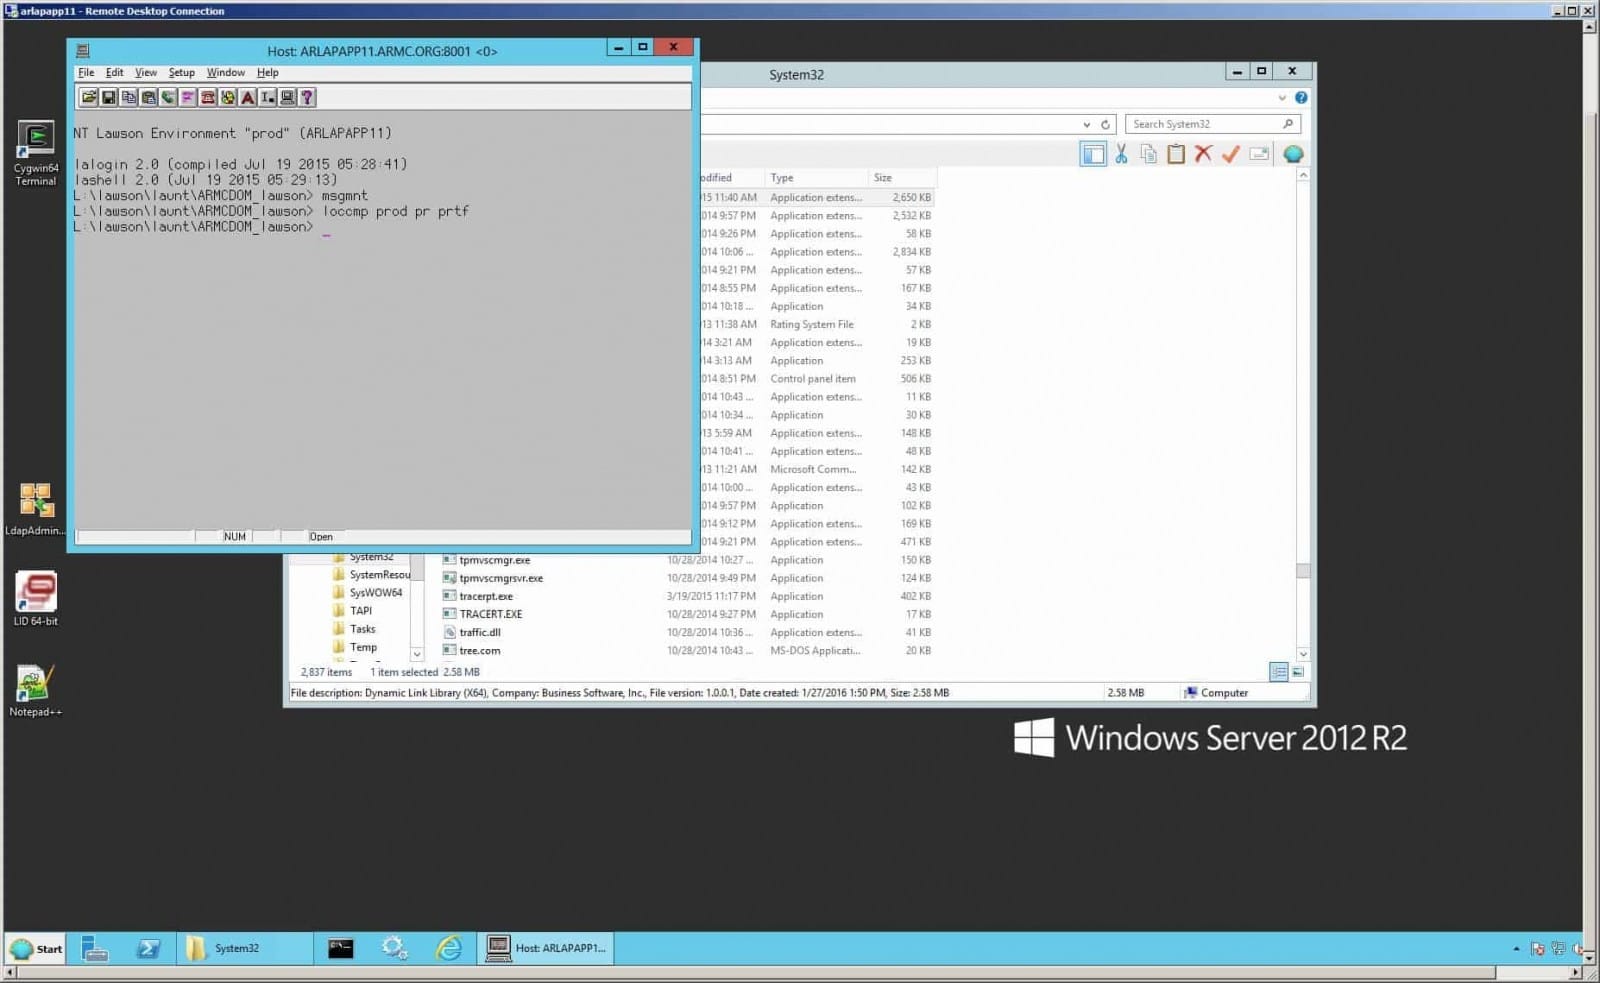
- Compile the prtf program, (needed after changing the TF90 to TF10 in screen above)
- Test with LID
- Click Refresh Version
- Click “test TaxFactory US”
- Will generate a licensing error if the machine key isn’t installed yet

- Will generate a licensing error if the machine key isn’t installed yet
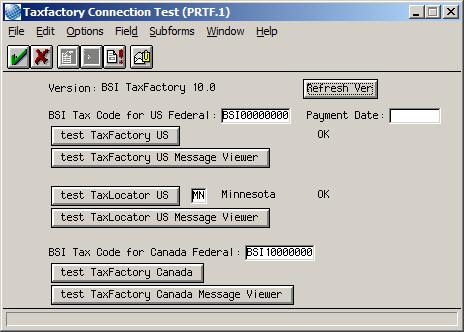
- New jobs should start reflecting in BSI TaxFactory Product in Message Viewer
Apache Tomcat Installation
- Download the required installation files from the Apache website

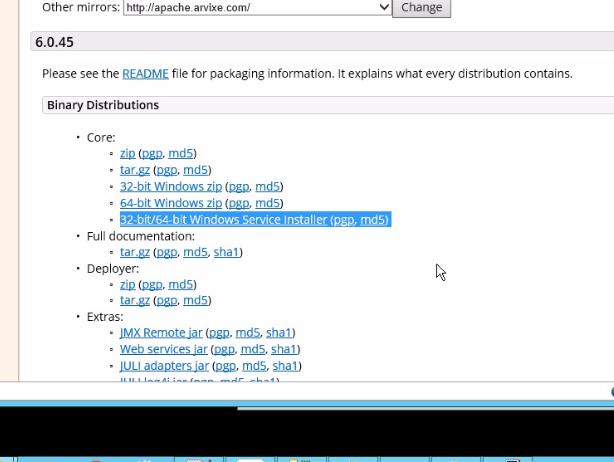
- Save the executable

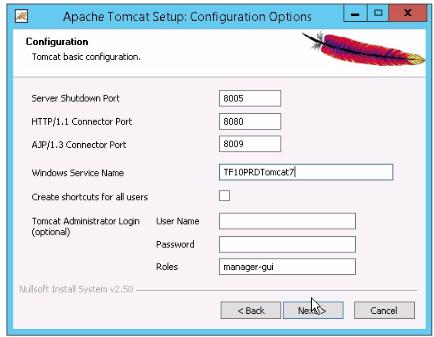
- Run the executable


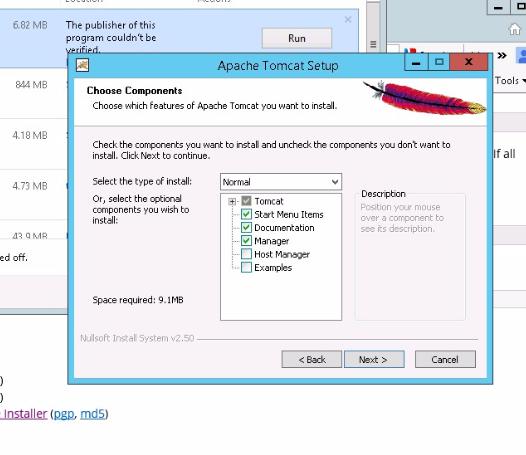
- Customize the Windows service name

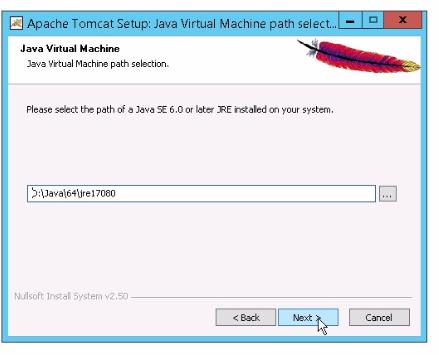
- Select the JRE path (will likely default)

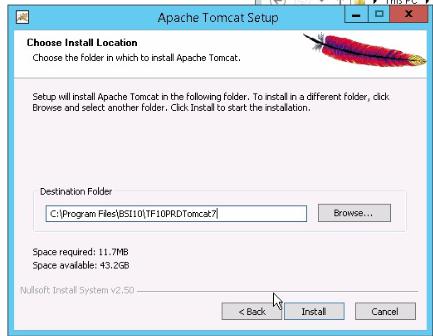
- Choose the install location

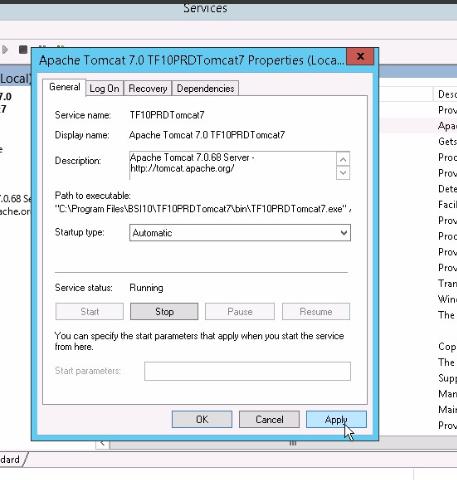
- After the installation is complete, change the service to startup type Automatic